

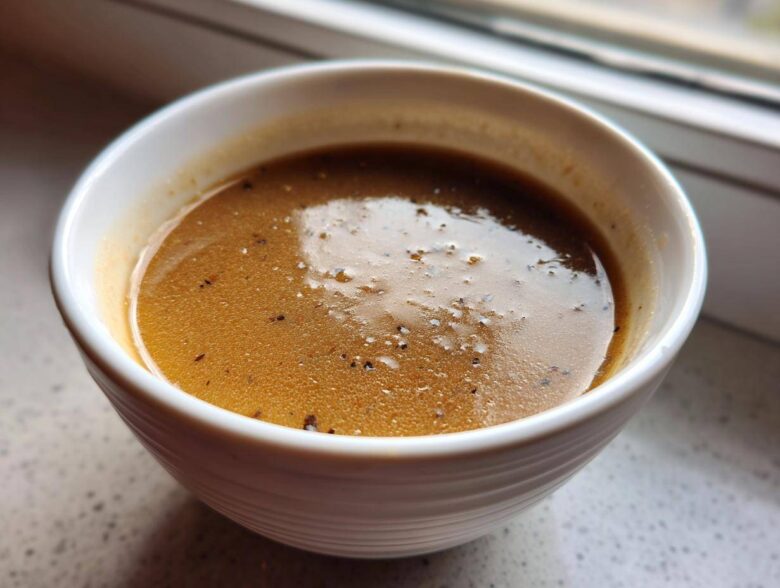
Oh, bless your heart, if there’s one thing I’ve learned dealing with big holiday meals, it’s that everyone remembers the main star, but they obsess over the sauce! We’re not doing thin, watery sadness this year, I promise you. We are making the most amazing, foolproof, make-ahead turkey gravy that is so rich and savory, people will be asking for the recipe before the turkey is even carved. I spent years trying to get this right—you know, the year I served my famous gravy only to realize I’d forgotten the drippings? Disaster! But I perfected this system. It works whether you have those glorious pan drippings or just have to rely on excellent stock. If you want to know a little bit more about how I approach all my holiday recipes, you can check out my story. Trust me, this is the method you’ll use forever.
Why This Foolproof Turkey Gravy Recipe Works So Well
This isn’t just another recipe you scribble on a napkin; this is a technique built on years of stress-testing during major holiday dinners. We focus on consistency and incredible flavor depth, which is what separates good gravy from that spoonful of pure comfort food everyone dreams about. The key to this amazing turkey gravy is that it respects your schedule and your palate, giving you flexibility when things get hectic.
- It’s utterly flexible—use the flavorful drippings if you have them, or go straight to stock if your pan looks too clean.
- The method ensures you get that gorgeous, velvety texture without any frustrating lumps.
- It’s designed to be made ahead of time, freeing up precious stovetop space on the actual big day!
Achieving Truly Smooth Turkey Gravy Texture
The smoothness comes directly from mastering the roux—that buttery flour paste. You have to cook it just right, until it smells a tiny bit like toasted nuts, but not dark brown. Then, here’s the magic trick: add your liquid gradually! Don’t just dump the stock in all at once; whisk it in slowly, about a cup at a time, letting it incorporate completely before adding the next batch. This slow introduction prevents those nasty clumps from forming. And if you are still worried? Don’t panic! Straining the finished gravy through a fine-mesh sieve once it’s thickened is my secret weapon for restaurant-quality, smooth turkey gravy.
Building Rich Savory Gravy Flavor
Flavor starts with the foundation, which is your stock. If I’m not using drippings, I insist on a high-quality, low-sodium stock; honestly, it makes all the difference in the world. The poultry seasoning provides that classic holiday baseline, but if you’re going the stock-only route, you absolutely must sneak in that little bit of Worcestershire sauce or a splash of dry sherry while it simmers. It deepens the flavor profile instantly, making people wonder how you got so much flavor from just stock alone. That’s how you create a truly rich savory gravy that screams “Happy Holidays!”
Essential Ingredients for Classic Turkey Gravy
Okay, let’s talk about what you need to pull this off. Because this recipe is so straightforward, the quality of your few ingredients really takes center stage. We’re not hiding anything here; we’re celebrating the basics of a really spectacular classic turkey gravy. You’ll notice I’ve split the ingredients into the foundation—the absolute must-haves for the roux—and the key flavor boosters. The biggest difference, as we discussed, is whether you’re using that golden, reserved fat from your turkey roasting pan, or if you’re building the flavor from scratch using just butter and wonderful stock. Either way, have everything measured out and ready to go! That’s half the battle won right there, especially when the kitchen gets busy.
- 6 tablespoons unsalted butter (This is for the roux base.)
- 6 tablespoons all-purpose flour (The thickener!)
- 4 cups high-quality turkey stock (Low sodium is my preference; control the salt yourself.)
- 1/2 cup reserved turkey pan drippings (Only grab this if you see that layer of fat separated on top of your roasting pan juices!)
- 1 teaspoon salt (We start small; you can always add more.)
- 1/2 teaspoon black pepper (Freshly cracked works best, honestly.)
- 1/4 teaspoon dried poultry seasoning (Just a hint of that festive flavor kick.)
How to Prepare Your Turkey Gravy From Scratch
Alright, this is where the magic really happens, and why I call this the foolproof gravy method. Don’t rush this part, because the roux is the scaffolding for the whole beautiful sauce. My instructions are very clear here because skipping a step means you risk lumps, and we absolutely cannot have that when we’re aiming for a stunning, rich homemade pan gravy experience.
Making the Roux Base for Thick Turkey Gravy
First things first, you need a good saucepan because you’ll be whisking vigorously! Melt all six tablespoons of your butter right over medium heat. Once it’s bubbly and melted, dump in your flour all at once. Now, you have to whisk constantly, really work that mixture. You’re cooking it for a good two or three minutes. You want it to smell warm and nutty, kind of like very mild popcorn. If you are using those precious pan drippings, this is when you whisk in that reserved 1/2 cup of warm drippings until the paste gets shiny and smooth. It seems simple, but that short cook time removes that raw flour taste, which is key!
Incorporating Stock and Simmering the Turkey Gravy
Once your roux is perfect—and remember, do not let it brown—it’s time to introduce the liquid. This is the step most people mess up, so pay close attention! You need to add the turkey stock gradually. I mean really slowly. Pour in about a cup, whisk furiously until it’s totally smooth, then add another cup, and keep whisking. This slow incorporation is your guarantee of a smooth turkey gravy, not a lumpy mess. Once all the stock is in, turn the heat down so it’s just simmering gently. Let it bubble away for about five to ten minutes, stirring every so often. You’ll know it’s ready when it thickens enough that you can dip your spoon in, pull it out, and the gravy clings to the back of the spoon without immediately running off. If you want that extra insurance against any hidden clumps, now is the time to take it off the heat and strain it. If you need the absolute final word on the technical side of baking, this full disclaimer might be helpful reading for context on ingredient quality!
Tips for Perfect Turkey Gravy Without Drippings
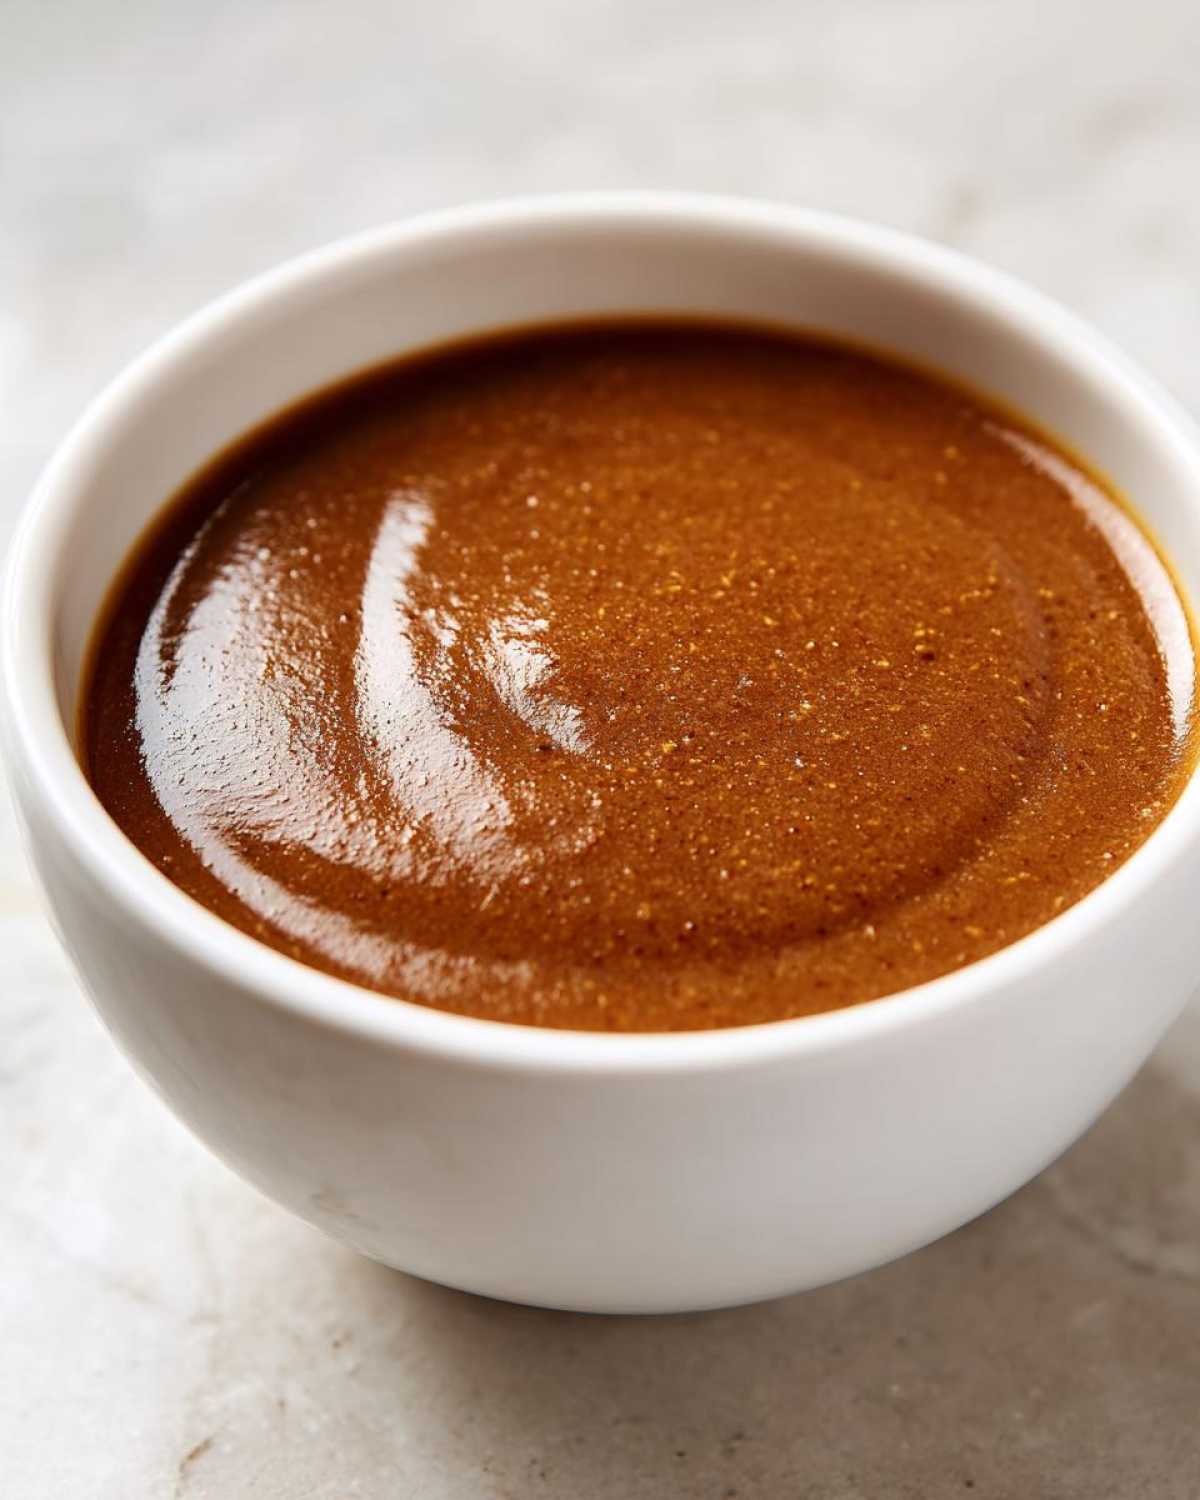
Oh, I hear you! Sometimes you roast a turkey, maybe you cook it in a bag, or maybe you just used a beautiful roasting pan that didn’t release much fat—it happens to the best of us! Don’t you dare think you can’t make amazing gravy just because you don’t have a half-cup of fat sitting on top of your stock. Making fantastic turkey gravy without drippings is shockingly easy, though you have to compensate a little bit for the missing flavor depth.
The main thing you lose without pan drippings is that deep, savory richness that only comes from rendered turkey fat. So, we use a bit more butter in the roux, as detailed in the main recipe, but we also need to add flavor back in. This is where you turn your basic stock into something spectacular! When you are simmering, right after you add the liquid, toss in a teaspoon of Worcestershire sauce. Seriously, this is a game-changer. If you’re feeling fancy or making this for adults, a quick splash of dry sherry whisks right into that rich base layer and gives you almost that same layered flavor you get from the drippings.
This stock-based method is the easiest path to an easy homemade gravy, really. Since you aren’t skimming anything, there’s less mess, fewer minutes involved, and you just have to focus on making that roux perfectly pale and whisking that stock in smoothly. It’s the perfect backup plan for the holidays when your turkey decides to be tidy!
Make Ahead Gravy Holiday Prep Secrets
Oh my gosh, if I can give you one piece of life-saving advice for any major feast, it is always to prepare your turkey gravy in advance! Seriously, this is my number one secret when I’m planning a huge holiday meal. Trying to juggle the melting butter, making the roux, and getting the right consistency while everything else is running out of oven or stovetop space is just asking for stress. This recipe is designed so you can make it days ahead and completely forget about it until serving time!
Once your gravy is perfectly thickened—and strained, if you chose that route for that silky texture—you need to cool it down fast and wisely. Pour your hot gravy into a shallow dish. Don’t cover it while it’s hot; let it cool on the counter for about an hour first. This prevents condensation, which can make the top watery later. Then, cover it tightly with plastic wrap. You can keep this beautiful make ahead gravy refrigerated for about three days. For maximum planning power, it freezes like an absolute dream! Seal it up well in a freezer-safe container (leaving an inch or two of headspace for expansion) and it will keep beautifully for up to a month.
Now, the only thing you need to remember is that gravy gets thick when it’s cold—really thick, almost like a jelly. Please don’t panic when you pull it out! That’s why we always test it out the day before or at least a few hours before serving. When you reheat it on the stovetop over medium-low heat, you must whisk in liquid as it warms up. I keep warm turkey stock (or even warm water, honestly) right beside the pot. Add a splash at a time while whisking constantly, until the gravy loosens up and reaches that perfect, flowing consistency that pools so nicely around your mashed potatoes. It reheats like it was just made, and nobody will ever guess you whipped up this spectacular sauce days ago!
Troubleshooting Common Turkey Gravy Issues
Even with the foolproof gravy method, sometimes kitchen variables throw us a curveball! Maybe your stock was a little thinner than expected, or maybe you added too much liquid while thinning it out later. Don’t you dare dump it down the sink! Gravy rescue missions are part of the fun of making a truly comfort food gravy from scratch.
If your gravy is too thin—and I mean runny, not just liquidy—you need a slurry! This is my preferred way to thicken things up because it works fast and keeps the sauce looking glossy. Take about a teaspoon of cornstarch and mix it into two teaspoons of *cold* water in a tiny bowl. Whisk it until it’s totally smooth, like milk. Then, while your thin gravy is simmering gently, slowly drizzle in that slurry while whisking non-stop. It will thicken up almost immediately! If it’s still too thin, make another tiny batch of slurry and repeat. Conversely, if you ended up with something closer to paste or glue, just whisk in some extra warm stock or even warm water until it loosens up to that beautiful coating consistency you want for your mashed potatoes.
Serving Suggestions for Your Rich Savory Gravy
Now that you have this magnificent, deeply flavorful sauce, we have to talk about what it deserves to sit next to on your plate! Honestly, this gravy elevates everything it touches, but there are some classic pairings where it truly shines. The whole point of making a spectacular best turkey gravy recipe is so every bite of your holiday plate is covered in luxury.
Of course, nothing beats a giant scoop of creamy, fluffy mashed potatoes ready to catch every single drop. My rule of thumb is that the potatoes should be so soft they practically beg you to drown them in this sauce—and trust me, this gravy delivers that perfect, savory pool.
But don’t stop there! Think about how this richness plays against the textures of your other sides. Drizzle it generously over stuffing or dressing; it soaks right in and makes every bite tender and flavorful. It’s also absolutely wonderful spooned over roasted root vegetables like carrots and parsnips, helping them cross over from simple vegetable side to true holiday feature. And if you happen to have any leftover turkey meat hanging around the next day? A little bit of this gravy poured over a sandwich—wow! It just works magic where you least expect it.
Estimated Nutrition for This Turkey Gravy Recipe
I always feel a little funny about putting specific numbers next to something so comforting, you know? Like, does knowing the exact sodium content stop you from pouring an extra ladle on your potatoes? Probably not! But I know some of you like to keep track, so I pulled together the estimates for what this recipe yields. Remember, since this is a homemade comfort food gravy, these numbers are an approximation, and they can shift quite a bit depending on how salty your stock is or, really importantly, how much butter you use versus how much turkey fat skimmed off the drippings.
These figures are based on a serving size of about 1/2 cup when the recipe is divided evenly among four servings. If you’re serving a crowd of six or eight, those numbers drop significantly, which is good news for everyone!
- Serving Size: 1/2 cup
- Calories: 150
- Fat: 12g (that’s where the flavor is, folks!)
- Saturated Fat: 7g
- Carbohydrates: 6g
- Protein: 4g
- Sodium: 350mg (This is why I push low-sodium stock, see?)
- Sugar: 1g
Please keep in mind these are just estimates for planning purposes. If you used heavy cream instead of stock for a richer sauce, or if you added things like Worcestershire sauce—which I highly recommend for flavor anyway—those values will change slightly. I always recommend checking the specifics of your broth or stock label if you’re tracking sodium very closely. For full details on how we handle information on this site, you can take a peek at our privacy policy. But truly, this gravy deserves to be enjoyed without too much worrying when it comes to Thanksgiving dinner sides!
Your Questions Answered About Making Turkey Gravy
I know we covered the main steps, but when you’re making something as important as the sauce for the whole meal, you always have final little jitters! It’s totally normal. I’ve gathered up some of the questions I always get asked about this turkey gravy recipe, especially from folks who are trying to substitute or simplify things last minute. Let’s clear up any last-minute confusion so you feel 100% confident walking into the kitchen!
Can I use chicken stock instead of turkey stock for this turkey gravy?
Oh yes, you absolutely can! If you’ve already cooked your turkey and you’re like me and you never seem to have enough homemade turkey stock left over, chicken stock is a totally acceptable substitute. It’s much better to use good quality chicken stock than to rely on cheap, overly salty broth. However, be warned: the flavor profile will shift just a touch. Chicken stock tends to be a little lighter, so you might want to lean into those flavor boosters we talked about. Add that splash of Worcestershire or sherry, maybe even throw in just a tiny pinch more of that poultry seasoning. It’ll still be delicious, but it won’t have that deep, specific turkey funk—which is fine if you’re aiming for a more generally classic turkey gravy!
What is the best way to achieve a truly ‘foolproof gravy method’?
When people ask me about making this a truly foolproof gravy method, I always point them back to the roux, every single time. It is the foundation! You must melt the butter completely, and then you have to cook that flour paste for the full two or three minutes until you can smell that toasty aroma. That short cook time is non-negotiable—it cooks out the raw flour taste. And then, when you start adding the stock, if you add it all in at once, you’re making soup, not sauce! Slowly whisking in the liquid bit by bit is how you ensure that rich, thick texture without having to hunt down lumps later. If you nail the roux and whisk slowly, you are guaranteed success!
What if I don’t have a proper whisk to make this?
Don’t stress about the whisk! If you’re in a pinch and only have a wooden spoon, that works fine for the roux phase. But when you introduce the cooler liquid stock, you really do need something that can smoothly incorporate without leaving gaps. If you don’t have a whisk, grab two sturdy forks and hold them back-to-back, using them like a makeshift whisk. You can get surprisingly good incorporation that way. Honestly, even just shaking the stock and the roux together in a sealed mason jar before pouring it back into the pan can work wonders for smooth turkey gravy, though you need to be quick to get it into the heat!
Can I make a Southern Giblet Gravy using this base?
Yes, you absolutely can transition this base into a fantastic Southern Giblet Gravy Recipe! The roux and the stock addition are the exact same process. The main difference is you’d omit the 1/2 cup of plain pan drippings, and instead, you would use the strained liquid from cooking your giblets and neck meat, ensuring you still have 1/2 cup of fat/liquid to incorporate into your roux. If you are making giblet gravy, you’ll want to finely chop your cooked gizzards and hearts and stir them in right at the end when you add the salt and pepper. You probably won’t need to strain it at all because those savory little bits are what makes it so special!
If you have any other burning questions about your holiday feast sauces or need to get in touch about swapping out ingredients, please feel free to use the contact page!
PrintFoolproof Make-Ahead Turkey Gravy Recipe (With or Without Drippings)

Make a rich, smooth, and savory turkey gravy that you can prepare in advance. This recipe works perfectly using pan drippings or rich turkey stock.
- Prep Time: 10 min
- Cook Time: 20 min
- Total Time: 30 min
- Yield: 4 servings
- Category: Side Dish
- Method: Stovetop
- Cuisine: American
- Diet: Vegetarian
Ingredients
- 6 tablespoons unsalted butter
- 6 tablespoons all-purpose flour
- 4 cups high-quality turkey stock (low sodium preferred)
- 1/2 cup reserved turkey pan drippings (optional, if using drippings)
- 1 teaspoon salt
- 1/2 teaspoon black pepper
- 1/4 teaspoon dried poultry seasoning
Instructions
- If using drippings, skim off any excess fat from the drippings and measure out 1/2 cup. Set aside.
- In a large saucepan, melt the butter over medium heat.
- Whisk in the flour to create a smooth paste, called a roux. Cook the roux for 2 to 3 minutes, stirring constantly, until it smells slightly nutty. Do not let it brown.
- If using drippings, whisk the reserved 1/2 cup of warm drippings into the roux until fully incorporated.
- Gradually whisk in the turkey stock, a little at a time, ensuring no lumps form before adding more liquid.
- Bring the mixture to a simmer, stirring frequently. Reduce the heat to low and let it cook for 5 to 10 minutes, or until the gravy thickens enough to coat the back of a spoon.
- Stir in the salt, pepper, and poultry seasoning. Taste and adjust seasoning as needed.
- For a smoother gravy, strain it through a fine-mesh sieve before serving.
- To make ahead: Cool the gravy completely, then store it in an airtight container in the refrigerator for up to 3 days or freeze for up to 1 month. Reheat gently on the stovetop, whisking in a splash of stock or water if it becomes too thick.
Notes
- For extra flavor when using stock only, add 1 teaspoon of Worcestershire sauce or a splash of dry sherry while simmering.
- If the gravy is too thin after simmering, create a slurry by mixing 1 teaspoon of cornstarch with 2 teaspoons of cold water. Whisk this into the simmering gravy until thickened.
- If the gravy is too thick, whisk in warm stock or water until you reach your desired consistency.
Nutrition
- Serving Size: 1/2 cup
- Calories: 150
- Sugar: 1
- Sodium: 350
- Fat: 12
- Saturated Fat: 7
- Unsaturated Fat: 5
- Trans Fat: 0
- Carbohydrates: 6
- Fiber: 0
- Protein: 4
- Cholesterol: 25