

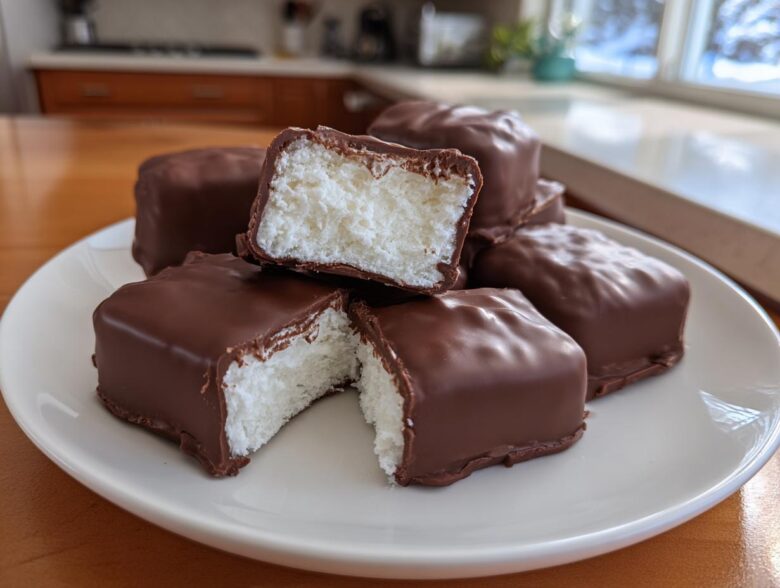
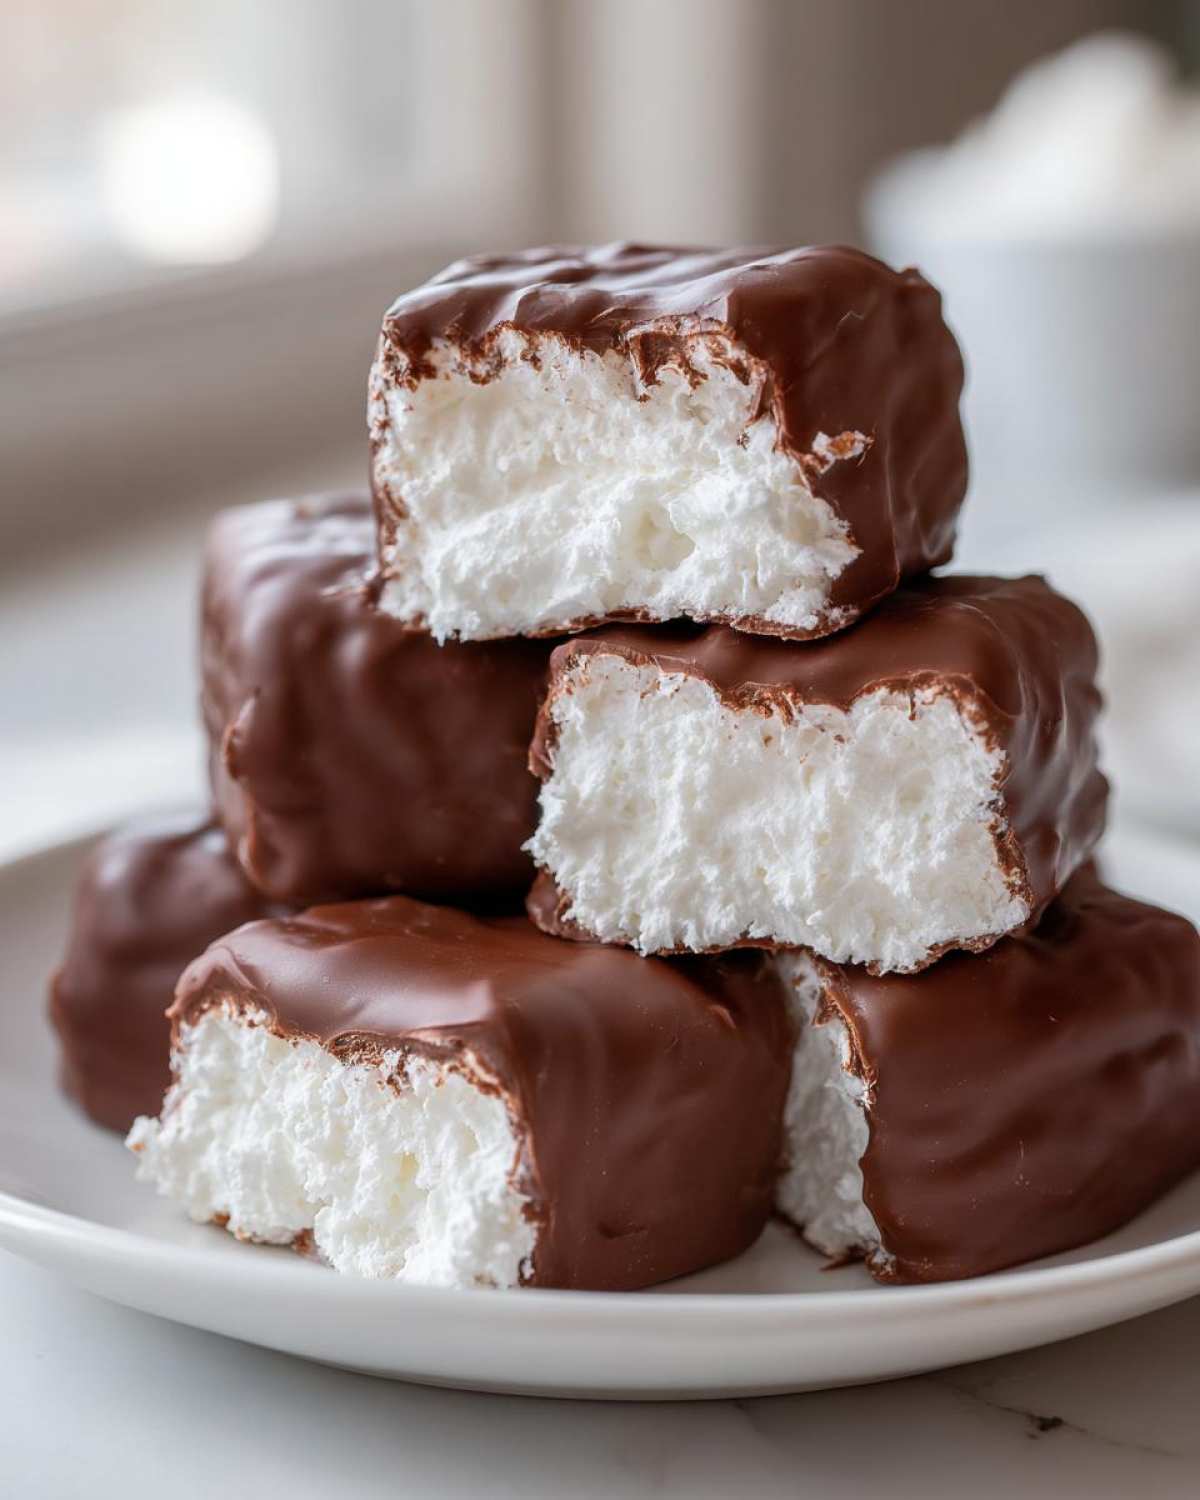
We used to think that if a dessert wasn’t complicated, it wasn’t worth making. Remember all those elaborate, multi-day holiday projects? Well, Marco and I had a revelation: the royal feast can happen on a Tuesday, too! That’s why this **Cool Whip Candy** is one of the most requested recipes we share from our personal rotation. It’s the ultimate shortcut dessert, a ridiculously simple treat that tastes surprisingly like a classic 3 Musketeers bar. Seriously, we almost can’t believe only three ingredients create this miracle. This is quickly becoming our most reliable go-to when we need **no bake candy recipes** without sacrificing that satisfying, sweet payoff. If you want to know more about our journey reclaiming our kitchen, you can always read about us over at the About Us page!
Why This Cool Whip Candy is Your New Favorite 3 Ingredient Dessert
Why fuss with baking sheets and scorching ovens when you can make magic just by freezing things? This recipe really embodies what we preach here at Eatable Empress: maximum reward for minimal effort. It’s fast, it’s unbelievably cheap to put together—truly one of the best 3 ingredient desserts out there—and nobody can believe how easy it is.
Here’s why I’m obsessed with this **Cool Whip Candy**:
- It requires zero baking time. Hello, **no bake candy recipes**!
- The texture truly delivers that airy, cloud-like quality.
- It’s the perfect **quick dessert idea** for last-minute guests.
Achieving That Fluffy Chocolate Treats Texture
The secret weapon here, without a doubt, is using that frozen whipped topping. When you fold it in gently, it traps tons of air. Since we aren’t baking it, that air stays locked in place while it freezes solid. This is what gives you that hallmark light and airy dessert feeling, making it taste exactly like that expensive candy bar we all used to crave. Do this right, and you’ve got a certified winner.
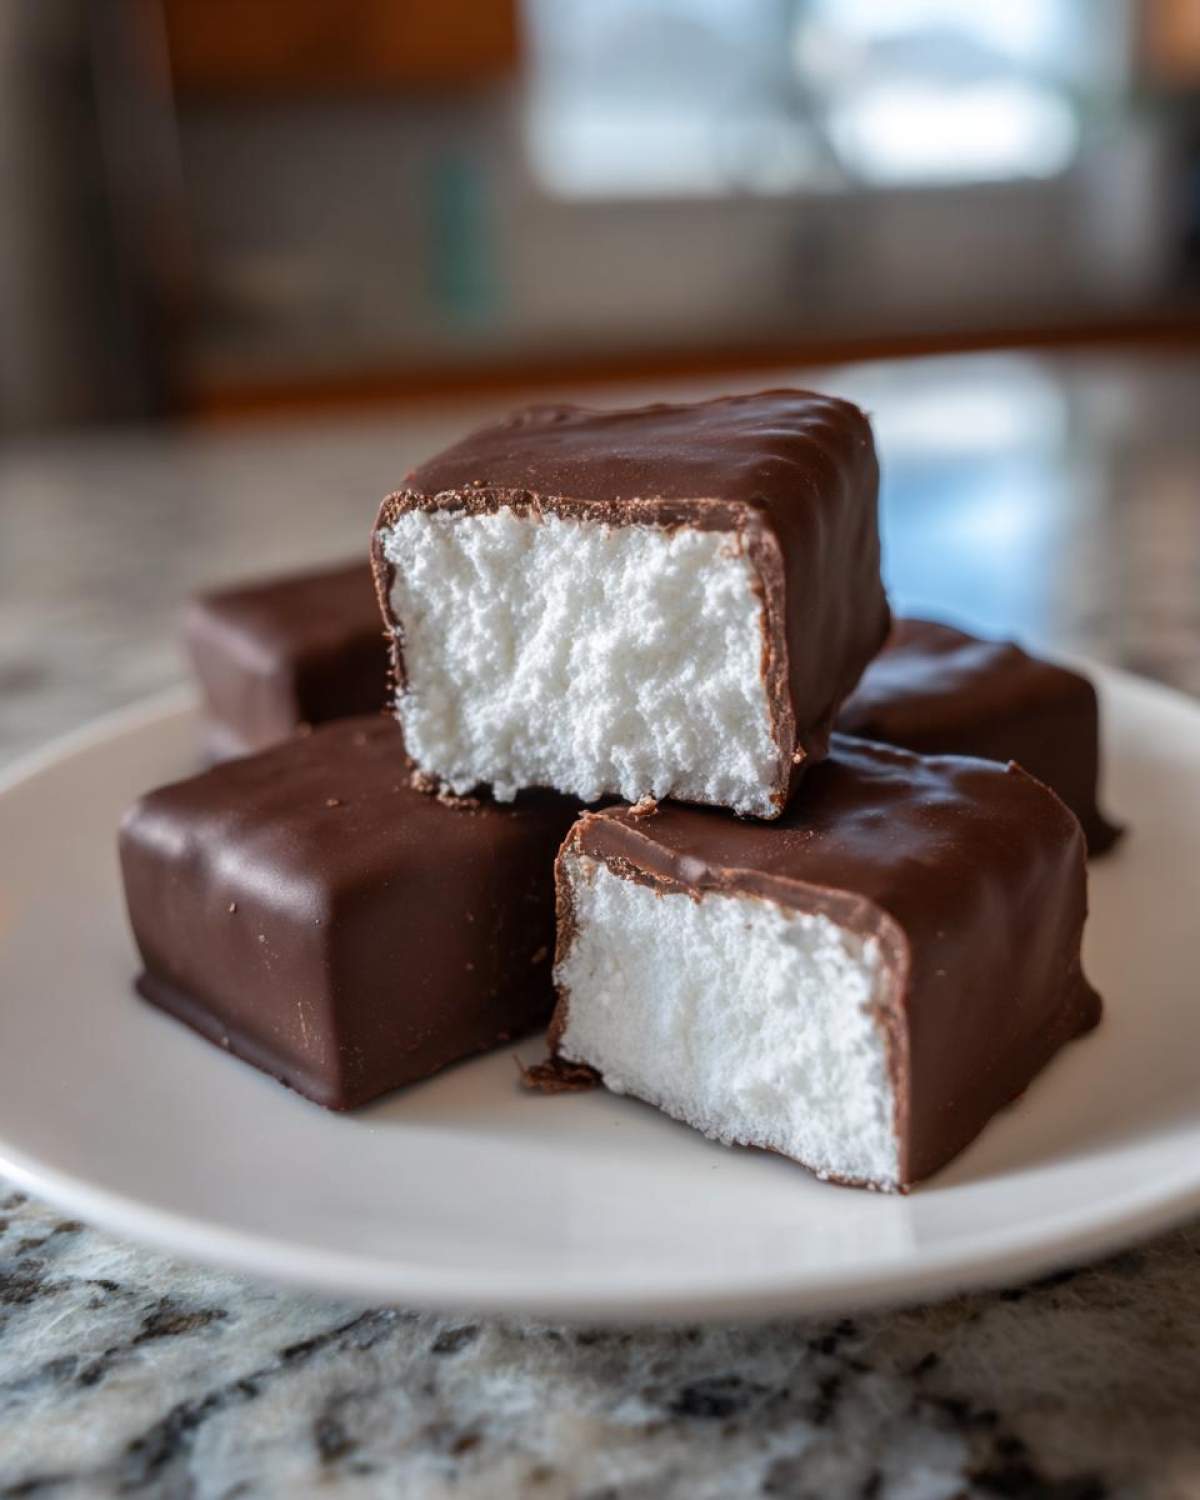
Gathering Ingredients for Cool Whip Candy
The best part about this candy is how incredibly simple the ingredient list is. You likely have most of this in your pantry right now! Seriously, this is one of the best budget friendly sweets you can whip up. We’re aiming for speed, but that doesn’t mean we skip on quality where it counts. Remember to have your 8-ounce container of frozen whipped topping fully thawed before you start mixing, but make sure it stays cold!
Here is what you’ll need to hunt down for this batch:
- One cup of powdered sugar – sifted if yours is clumpy from sitting in the cupboard.
- One cup of creamy peanut butter – and I mean creamy, not crunchy!
- One standard 8-ounce container of frozen whipped topping, thawed.
- Twelve ounces of semi-sweet chocolate chips, for that final dreamy dip.
Ingredient Notes and Substitutions for Creamy Candy Recipes
Let’s chat specifics so we prevent any texture fails. For the peanut butter, you absolutely must use creamy. The crunchy bits will throw off the beautiful, smooth texture we’re trying to achieve for this creamy candy recipe. Don’t even think about using the natural, oily kind though; stick to the classic stabilized version for setting properly.
Now for the whipped topping—it needs to be thawed enough that it moves when you spoon it out, but still super cold. If it gets warm and runny, your texture will deflate! For the chocolate coating, if you don’t like semi-sweet, you can easily swap that out for milk chocolate or even white chocolate chips. Just try to keep the ratio the same for coating consistency!
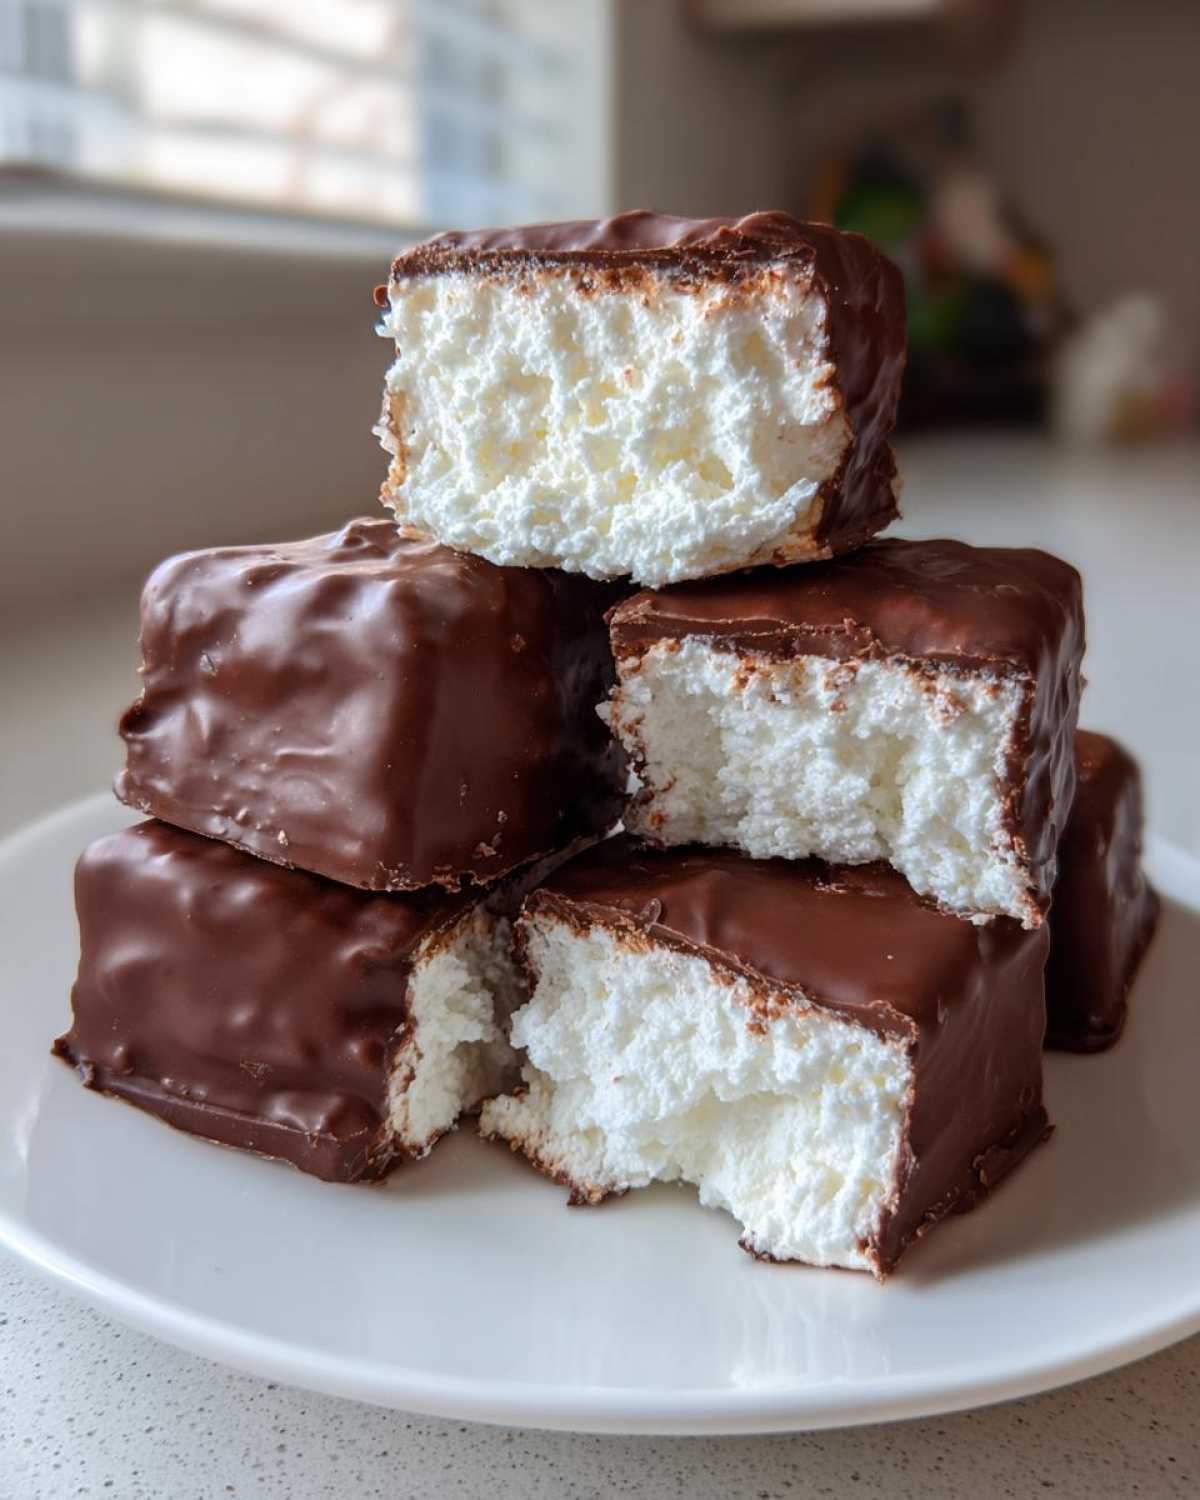
Step-by-Step Guide to Making Your Cool Whip Candy
Alright, this is where the magic happens, and I promise this is easier than tying your shoes! We’re not turning on the oven, but we are using the freezer to our advantage. The key to making this the best no bake pumpkin pie recipe alternative is treating that whipped topping like spun gold—you must handle it gently.
First things first, line that 8×8 inch pan perfectly with parchment paper, making sure you have plenty of overhang. This overhang is your handle later, trust me, you’ll thank me when you have to lift that frozen block out!
Mixing the Filling for the Ultimate 3 Musketeers Copycat Recipe
We start by combining the peanut butter and powdered sugar right in a large bowl. Whisk these vigorously until they are completely smooth; they should blend together easily. Now, take your cold, thawed whipped topping and gently—and I mean *gently*—fold it into that peanut butter mix. You want to fold until you see zero white streaks, but stop immediately when that happens.
Marco learned the hard way the first time we made this! He was worried about lumps and over-mixed it until it looked like drywall mud. Oops! It froze dense instead of fluffy. Keep your folding light and airy so you capture all those wonderful air bubbles. Spread your filling evenly into that prepared pan and slide it into the freezer for at least three solid hours until it’s firm enough to handle a knife.
The Chocolate Dipped Candy Coating Process
Once that center is nice and frozen, use those parchment handles to lift the whole block out and cut it into bite-sized squares. Now for the satisfying part: chocolate dipping! Place your semi-sweet chips in a microwave-safe bowl. Microwave them in intervals of exactly 30 seconds, stirring in between each time. This prevents scorching and keeps the chocolate beautifully smooth.
Take one frozen square at a time, dip it quickly into the warm chocolate, and let any excess drip right back into the bowl. You want a nice, thin coat that sets up fast. Place them on a parchment-lined baking sheet and pop them back into the fridge until that shell gets hard. That’s it! You’ve made incredible **Cool Whip Candy**.
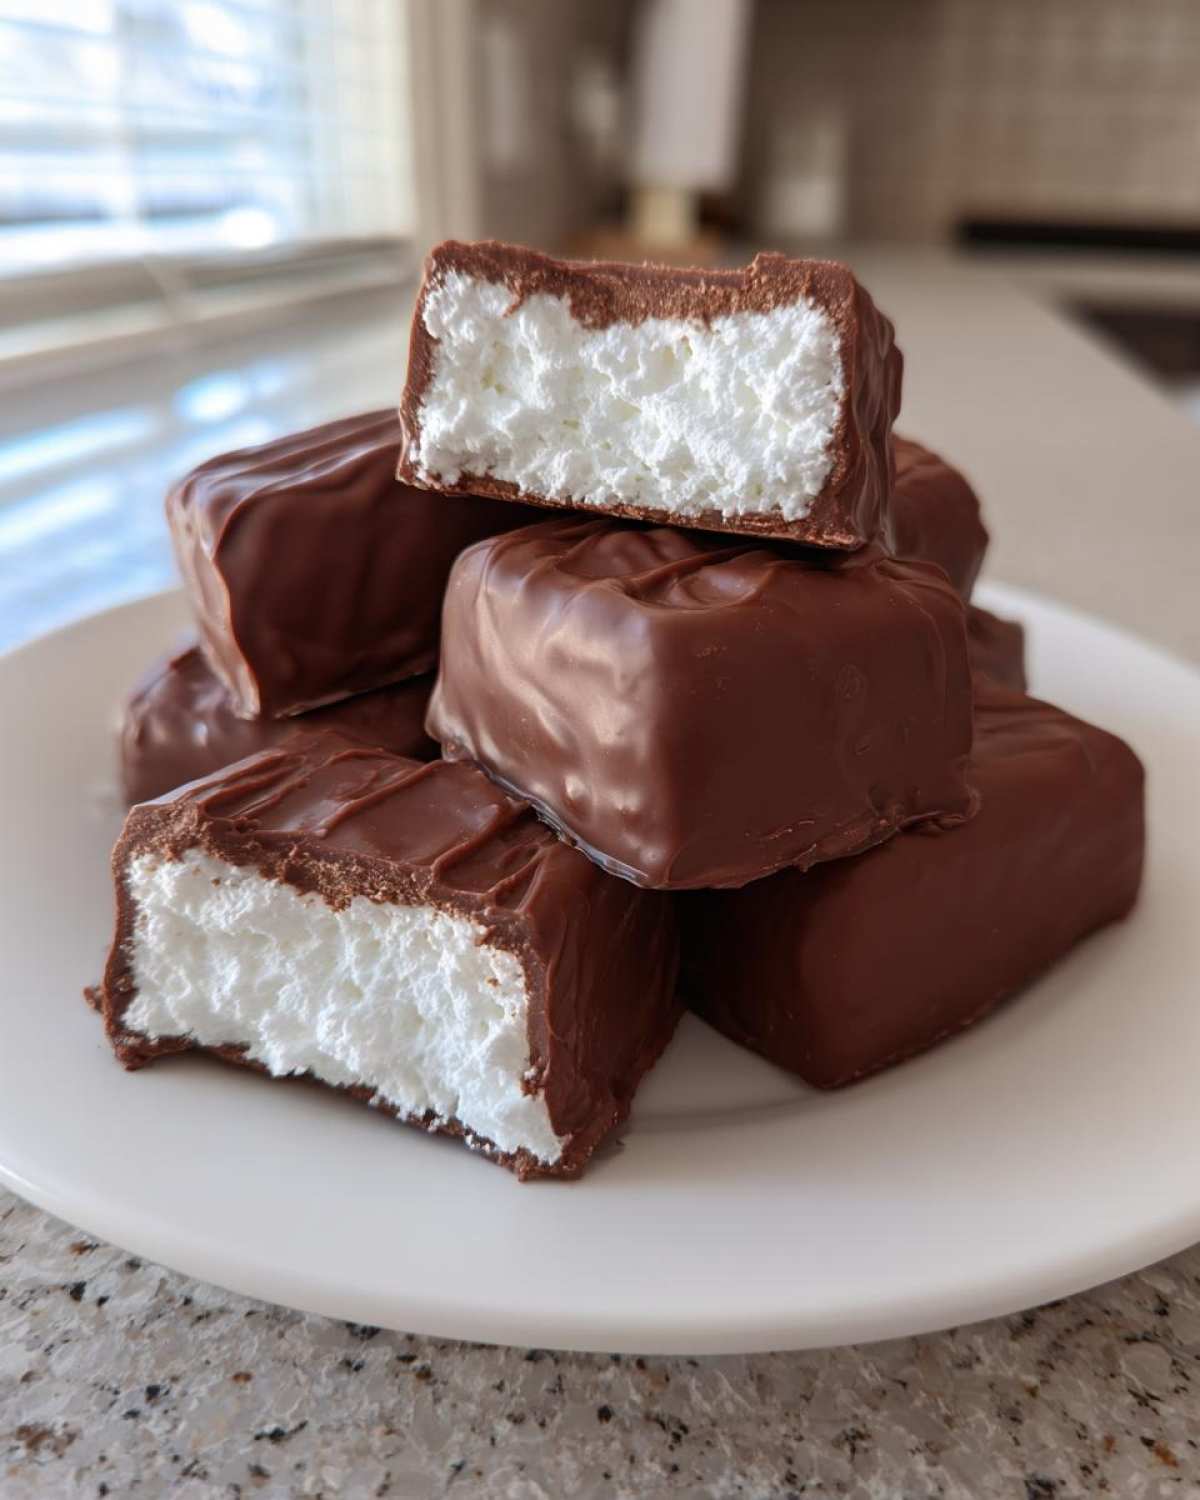
Tips for Perfect Cool Whip Candy Every Time
Since we’re making this candy completely from scratch—even though it’s only three ingredients—a couple of little tricks can take your results from good to absolutely royal. We want these to truly be **melt in your mouth treats**, so texture is everything!
First, really pay attention to the temperature of your filling when you spread it. If it feels oily or sticky at all before freezing, it hasn’t chilled enough, which can lead to a less defined shape once cut. Make sure it’s firm enough to handle before you transfer it to the cutting board.
Second, when you’re melting your chocolate coating, don’t rush it. If you overheat the chips, they can seize up or become too thick to coat thinly. Remember, a thin chocolate shell is what lets that light, airy interior shine through! If you need more cookie inspiration, check out my coffee cake cookies for another easy win.
Storing Your Cool Whip Candy and Make-Ahead Options
One of the biggest gifts this **Cool Whip Candy** gives us is its amazing make-ahead potential. Since it actually needs to be frozen to set up properly, it’s absolutely perfect for prepping for big gatherings or the holidays way in advance! You can easily make a huge batch and keep these squares stashed away, meaning one less thing stressing you out right before your party.
For the best ‘melt in your mouth treats’ vibe, you absolutely must keep these stored in the freezer. If you leave them in the fridge, the whipped topping/peanut butter filling softens too much, and while it’ll still taste great, it won’t have that signature light, airy snap that makes it such a fantastic **holiday candy assortment** item.
When you package them up, make sure you separate the layers with wax paper or parchment squares. This prevents the chocolate coating on one piece from sticking to the next—nobody wants to peel two candies apart! An airtight container shoved in the back of the freezer will keep these amazing for weeks, ready to go when you need a quick dessert or a festive treat.
This is such a lifesaver for my holiday baking tray! I usually make mine about ten days before Christmas, store them, and then just pull them out about 20 minutes before company arrives. For other easy freezer sweets, I highly recommend checking out my tips for those lemon meltaway cookies—they follow a similar logic!
Serving Suggestions for This Easy Homemade Candy
Now that you’ve got these incredibly simple, decadent squares of **Cool Whip Candy** chilling in the freezer, how should you present them? Remember, even our simplest treats deserve a little royal presentation! Since this candy is so rich and sweet, it shines brightest when paired with something that cuts through the richness.
If you’re serving these up as **easy party food**, Marco insists they need a warm beverage partner. They are absolutely divine alongside a mug of our homemade hot cocoa—we use this big batch hot cocoa mix for gatherings, and it works perfectly!
Here are a few ways we like to serve them to make them feel extra special:
- The Cold Plate: Keep the candies frozen and serve them directly on a chilled silver platter as part of a larger dessert board. The cold temperature keeps that fluffiness intact.
- The Coffee Companion: Serve one cube alongside a strong, dark cup of coffee. The bitterness cleanses the palate nicely after the sweet peanut butter and chocolate.
Sofia’s Tip for Balancing Sweetness
This is where I chime in as the Empress! Because this candy is so sweet—and I love it that way—it really benefits from a contrasting flavor element nearby. If you’re putting together a tray of **simple sweet snacks**, make sure you also include something tart! Think sharp lemon shortbread, or maybe even some fresh raspberries or orange slices. That little bit of acidity makes the richness of the chocolate coating on the candy taste even better. It’s all about balance, even in our easiest recipes!
Frequently Asked Questions About Frozen Whipped Topping Recipes
I always get a flood of questions when I post something this simple because people just can’t believe how good **Cool Whip Candy** is for being so incredibly easy! Most of the queries revolve around texture and ingredient swaps, which totally makes sense when you’re working with such a short ingredient list. We want those **creamy candy recipes** to turn out perfectly light every time!
Can I use regular whipped cream instead of the frozen whipped topping for cool whip candy?
Oh, I tried that once! It doesn’t quite work the same way, sweet friend. The commercial frozen whipped topping (like Cool Whip) is stabilized with things like corn syrup and gums that help it hold its shape really well when freezing and when folded in. If you try to use fresh, homemade whipped cream, it loses its air much faster when folded in, and once frozen, it tends to become icy or separate instead of staying smooth and fluffy. For that genuine **3 Musketeers copycat recipe** texture, you really need that stable, frozen format underneath it all.
Is this considered one of the best no oven desserts?
Absolutely, one hundred percent yes! This falls squarely into the best no oven desserts category on the planet. There is zero baking involved in the filling whatsoever. We’re relying entirely on the freezer—we mix it, spread it, and freeze it until it’s solid enough to cut. It’s my go-to for those scorching summer days when turning on the oven feels like a personal betrayal!
What happens if I leave out the peanut butter?
If you skip the peanut butter, you are no longer making **Cool Whip Candy** as we know it—you’re essentially making a chocolate-and-sugar-flavored marshmallow fluff that gets dipped in chocolate! The peanut butter is crucial. It acts as the binder and stabilizer along with the powdered sugar. Without it, the texture won’t set up correctly, no matter how long you freeze it. It will likely melt into a puddle when you try to dip it.
Can I make this even faster by skipping the chocolate dipping?
You totally can, and it’s still delicious if you’re in a huge rush! If you skip the chocolate dip, you end up with a super light, **fluffy chocolate treat** that is basically a peanut butter nougat cloud. It’s fantastic served right out of the pan, cut into small cubes, and dusted with that powdered sugar we mixed in. Just make sure you keep those cubes very cold so they don’t get sticky once they warm up slightly!
Understanding the Nutrition in Your Cool Whip Candy
Now, listen, I’m not going to pretend that this delightful, ridiculously easy **Cool Whip Candy** is kale salad, okay? It’s a treat! It’s meant to be indulgent, especially when we are putting together our favorite holiday candy assortment. But because we believe in transparency here at Eatable Empress—we want you to feel good about every royal choice you make—I wanted to share what’s inside this decadent little cube.
Please remember, these figures are just estimates based on the exact ingredients listed in our recipe, assuming you get about 24 pieces total. Since we’re using peanut butter and chocolate chips, you know the fat content is respectable, but oh my goodness, the payoff is worth it for these **simple sweet snacks**!
Here’s a general breakdown for one piece of the chocolate-dipped candy:
- Calories: Around 185 per piece.
- Total Fat: About 12 grams.
- Carbohydrates: Roughly 17 grams.
- Sugar: You’re looking at about 15 grams of sugar in total.
- Protein: A nice bonus of about 3 grams, thanks to that peanut butter!
It’s amazing how much flavor comes from so few components. When you keep these stored in the freezer as we discussed, they come out crisp and cold, making them truly feel like a ‘lighter’ indulgence, even with the chocolate coating. A perfect little celebratory bite when you need just one more thing!
Share Your Cool Whip Candy Creations
We’ve covered the philosophy, the ingredients, and the steps for making this magnificent, budget-friendly **Cool Whip Candy**. Now the most important part of our Eatable Empress journey begins: enjoying the feast! Whether you tucked these squares into a large **holiday candy assortment** or just made a small batch for a Wednesday night treat, I genuinely want to hear about it.
Did you manage to keep the texture light and airy? Did the chocolate coating set up perfectly after its time in the fridge? Please, please leave a comment below telling me how these turned out for you! Rating the recipe is a huge help to us so other people know this is a reliable recipe for **simple sweet snacks** that actually works!
If you snapped a photo of your glossy, chocolate-dipped squares, we’d be absolutely thrilled if you shared it on social media and tagged us. Seeing how you’re treating yourselves like royalty in your own kitchens is the highest form of applause we could ever receive.
Marco’s Request: Tell Us About Your Simple Feast Moment
As the Taster-in-Chief, I (Marco) am always looking for ways to elevate the everyday. This candy feels regal, but it’s inherently simple. So, when you made this **easy homemade candy**, what did you pair it with? Did you light a candle? Did you break out the good china for your few pieces? Did you toast to a small victory?
Tell me that story in the comments! That simple moment of slowing down to enjoy something sweet and perfect—that’s the whole mission of Eatable Empress. If you need to get in touch with any private questions about the recipe, you can always reach us through our Contact Page. And if you are looking for another beloved recipe that readers have raved about, check out this brilliant one shared by the wonderful people at Ineskohl right here: Cool Whip Candy Recipe!
PrintEasy 3-Ingredient Cool Whip Candy (3 Musketeers Copycat)
Make this incredibly simple, no-bake Cool Whip Candy that tastes just like a fluffy 3 Musketeers bar. It requires only three ingredients and sets up fast, making it a perfect, budget-friendly sweet treat for holidays or last-minute cravings.
- Prep Time: 15 min
- Cook Time: 2 min
- Total Time: 3 hr 17 min
- Yield: About 24 pieces
- Category: Dessert
- Method: No-Bake/Freezing
- Cuisine: American
- Diet: Vegetarian
Ingredients
- 1 cup powdered sugar
- 1 cup creamy peanut butter
- 1 (8 ounce) container frozen whipped topping, thawed
- 12 ounces semi-sweet chocolate chips, for dipping
Instructions
- Line an 8×8 inch pan with parchment paper, leaving an overhang for easy removal.
- In a large bowl, whisk together the powdered sugar and peanut butter until fully combined.
- Gently fold the thawed whipped topping into the peanut butter mixture until no streaks remain and the mixture is light and uniform. Do not overmix.
- Spread the mixture evenly into the prepared pan.
- Freeze the mixture for at least 3 hours, or until firm enough to cut.
- Once firm, use the parchment paper overhang to lift the candy block out of the pan. Cut the block into small, bite-sized squares.
- Melt the chocolate chips in a microwave-safe bowl in 30-second intervals, stirring well after each interval, until smooth.
- Dip each candy square into the melted chocolate, allowing excess chocolate to drip off. Place the dipped candies onto a parchment-lined baking sheet.
- Refrigerate the chocolate-dipped candies until the chocolate coating is set. Store leftovers in an airtight container in the freezer.
Notes
- For the best texture, ensure your whipped topping is fully thawed but still cold when folding it in.
- If you want a slightly firmer candy, you can add 1/4 cup of powdered sugar to the mixture.
- To make this a truly ‘melt in your mouth treat,’ keep the finished candies stored in the freezer.
Nutrition
- Serving Size: 1 piece
- Calories: 185
- Sugar: 15
- Sodium: 65
- Fat: 12
- Saturated Fat: 5
- Unsaturated Fat: 7
- Trans Fat: 0.1
- Carbohydrates: 17
- Fiber: 1
- Protein: 3
- Cholesterol: 3