

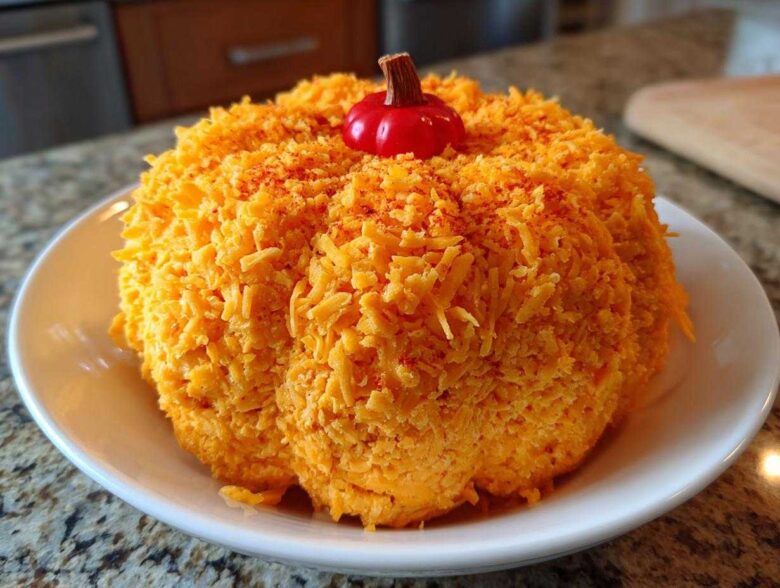
The air gets crisper, the sweaters come out, and suddenly, you’re drowning in invitations. Hosting during the fall season—Halloween parties, Friendsgivings, leading right up to the big day—can feel overwhelming. Marco and I learned the hard way about saving the best for guests instead of ourselves, and that’s why I champion dishes that look like a million bucks but take almost no energy. Enter the showstopper: the **pumpkin cheese ball**. This isn’t just some dip in a bowl; it’s a savory, vibrant centerpiece that screams autumn celebration. It fulfills my promise here at Eatable Empress that you deserve a feast, even when treating your own little court. It’s ridiculously easy, yet looks like you spent hours sculpting it. You can always read more about our philosophy over on our About Us page.
Why This Pumpkin Cheese Ball is Your New Favorite Festive Cream Cheese Appetizer
Let’s be honest, holiday entertaining is a marathon, not a sprint. I love sharing beautiful food, but I absolutely refuse to spend the entire evening chained to the oven while everyone else is mingling. This savory confection changed everything for me. It’s the ultimate easy cheese ball recipe because it delivers maximum visual impact for minimum daily effort. It instantly elevates any spread, making it a true crowd-pleasing appetizer.
When you’re planning your holiday menu, you need reliability, right? Here are the reasons this specific appetizer is a lifesaver:
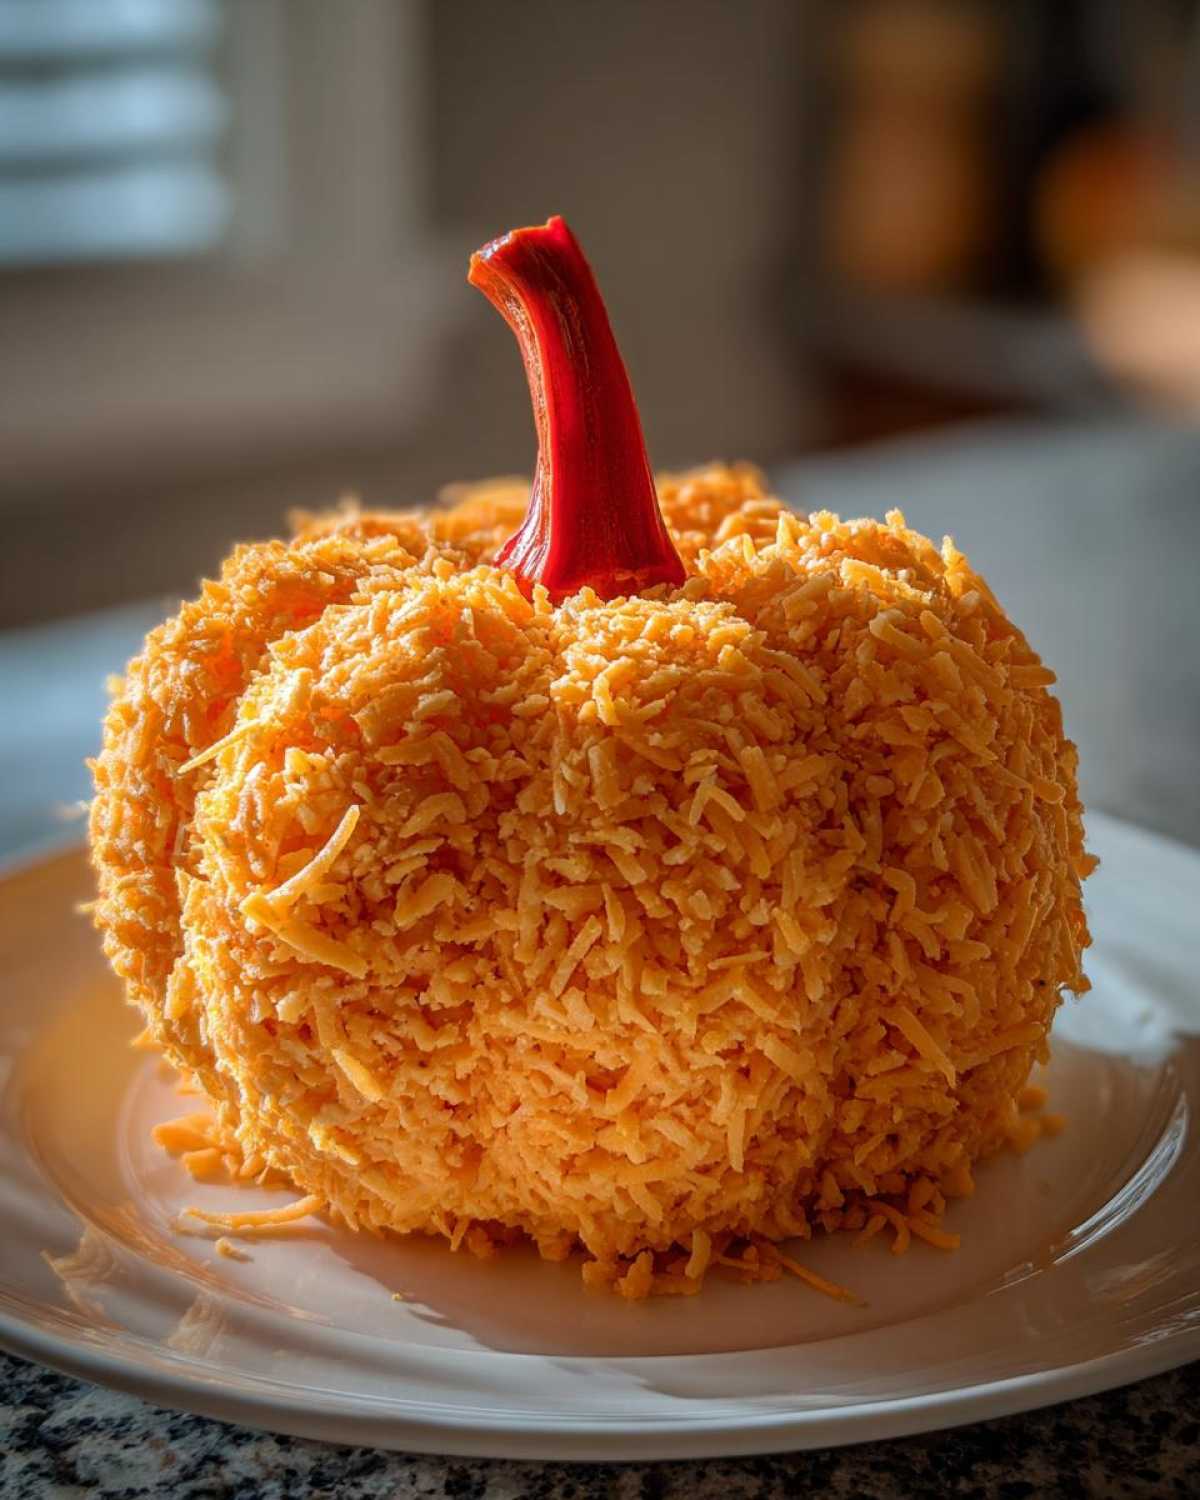
- It’s truly a pumpkin shaped food centerpiece that looks handcrafted and stunning on your holiday table.
- It’s designed to be an excellent make ahead party dip—you chill it, and it’s ready to go when guests arrive.
- The flavor is pure savory autumn goodness, using sharp cheddar and familiar spices. It’s the perfect festive cream cheese appetizer that isn’t sugary.
For me, being able to assemble this the day before means I can actually sit down with a glass of wine and enjoy Marco’s company before everyone else shows up. If you’re looking for other quick-fix elegance, check out my recipe for brie bites—another holiday favorite!
Gathering Ingredients for the Savory Pumpkin Cheese Ball
Okay, let’s talk about what you actually need for this savory showstopper. Since we aren’t baking, the quality of what you start with really counts, even in something as simple as this. You want everything ready to go so mixing is a breeze—this is about speed, remember?
- 16 ounces cream cheese, which absolutely *must* be softened so it mixes like butter.
- 3 cups sharp cheddar cheese, finely shredded, and pay attention here: we divide this!
- 1/2 cup green onion, finely chopped—I mean really fine, so you get the flavor without big onion chunks.
- 1 teaspoon ranch seasoning mix (this is optional, but trust me, it wakes everything up!).
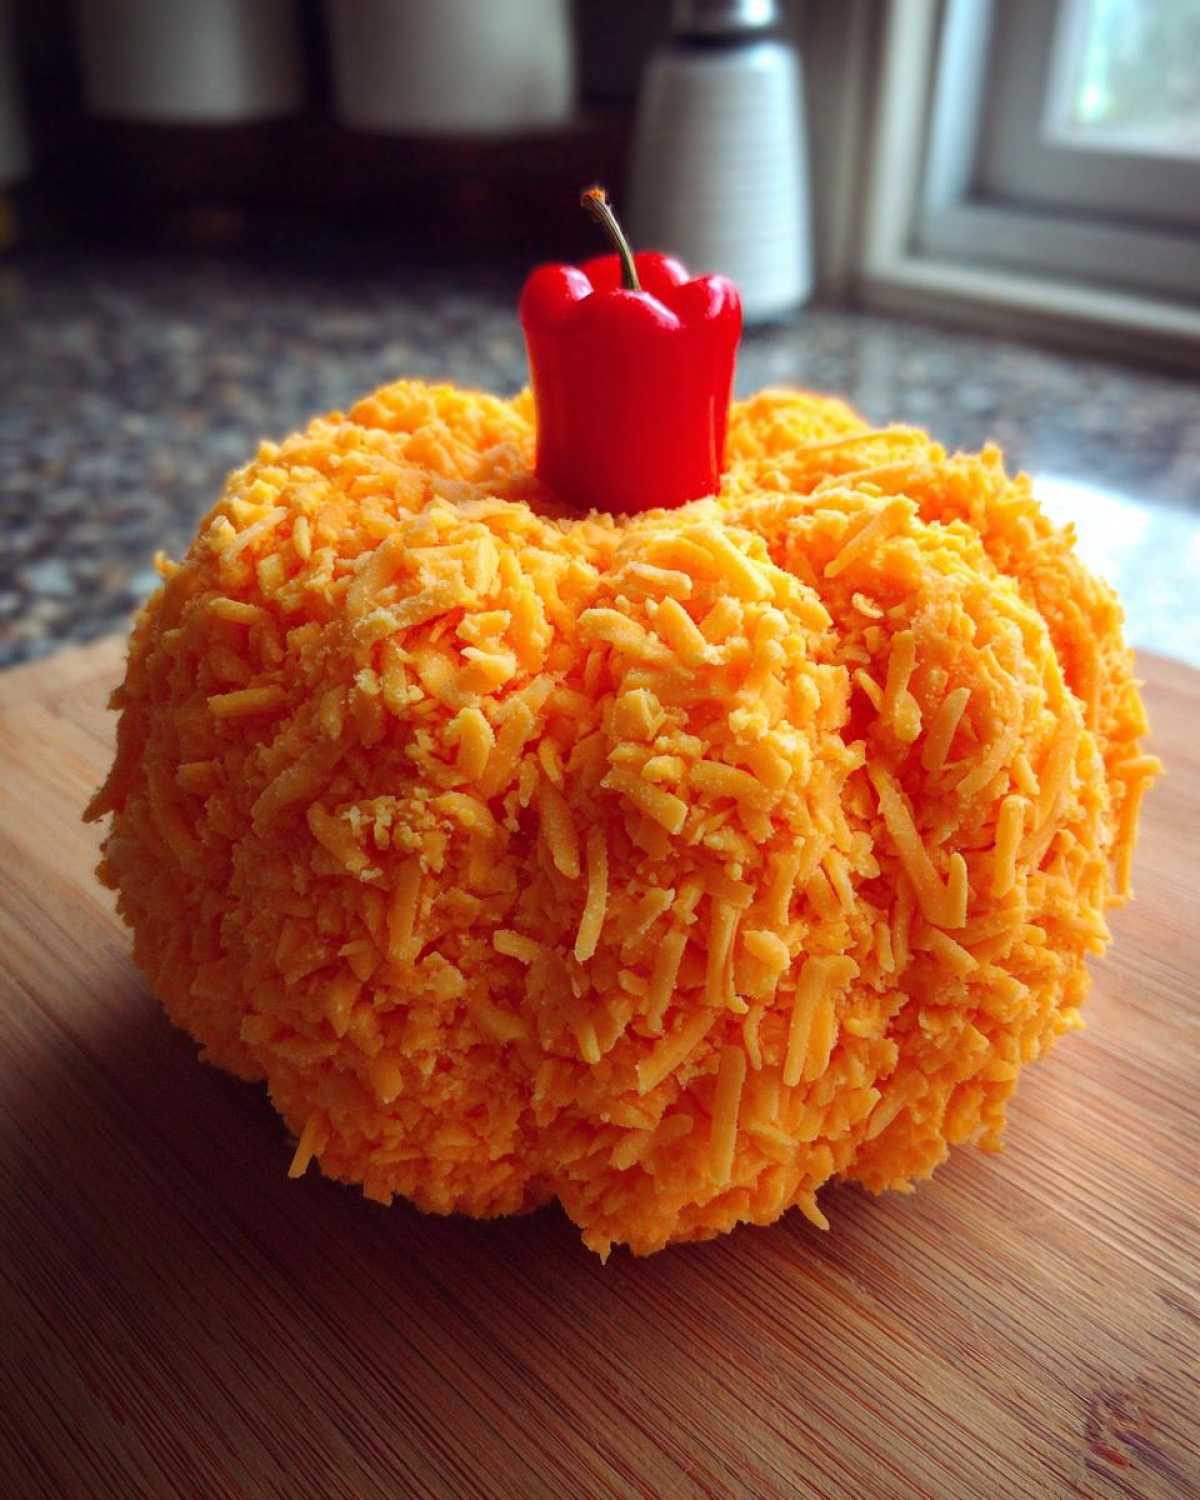
- 1 small orange or red bell pepper for that perfect little stem.
- Assorted crackers or vegetable sticks for serving.
That’s it! It’s shockingly few ingredients for something that looks this impressive.
Ingredient Notes and Substitution Ideas
The flavor punch here comes mostly from your cheddar. Don’t skimp or try to use mild cheese; we need that bold, tangy bite from a sharp cheddar so it stands up to the cream cheese. It just tastes richer, like a proper holiday snack should.
Now, about that ranch seasoning—if you don’t have a packet hiding in your spice drawer, that’s fine! You can easily whip up a quick replacement right in the bowl. Mix about 1/2 teaspoon of onion powder and 1/2 teaspoon of garlic powder, maybe even a pinch of dried dill if you love it. It gives you that herby zip without needing an extra trip to the store.
Step-by-Step Instructions for Your Pumpkin Cheese Ball
Alright, this is where the magic happens, and trust me, it feels way more complicated than it actually is. We are going to turn that cheesy mixer into something worthy of a centerpiece. Before you even start mixing, make sure your cream cheese is truly soft! If it’s too cold, you’ll end up overworking the mixture trying to get it smooth. We’re aiming for creamy perfection here, similar to how I describe getting my cheesecake batter just right before pouring it into the water bath—patience pays off! You can find my favorite methods for avoiding cracks right here.
First, grab that big bowl. Combine the softened cream cheese, the first half of your shredded cheddar (that’s 1 1/2 cups—keep the other half separate!), the finely chopped green onion, and that optional, but oh-so-good, ranch seasoning. Mix it all up until it’s unified. Then, shape it into a beautiful round ball right on a sheet of plastic wrap. This is your blank canvas for the ultimate pumpkin cheese ball.
Forming the Pumpkin Shape and Chilling
This next part is crucial for the visual drama! You need a few long strips of sturdy twine or even clean thread. Wrap these strips vertically all around your freshly formed cheese ball, spacing them out evenly so they look like the natural ribs on a pumpkin. Tie them securely at the top and bottom—make sure they are snug, but not so tight that they squish all the cheese out. Then, wrap the whole thing tightly in plastic wrap. It needs to chill out for at least two hours. Seriously, don’t skimp on this timing! Chilling is what sets the shape, and we want those nice defined ridges when we unwrap it later.
Finishing Touches for a Showstopping Pumpkin Cheese Ball
Once it’s rock solid from the fridge, it’s time to decorate! Carefully remove all that twine. Look at those beautiful grooves—isn’t that neat?
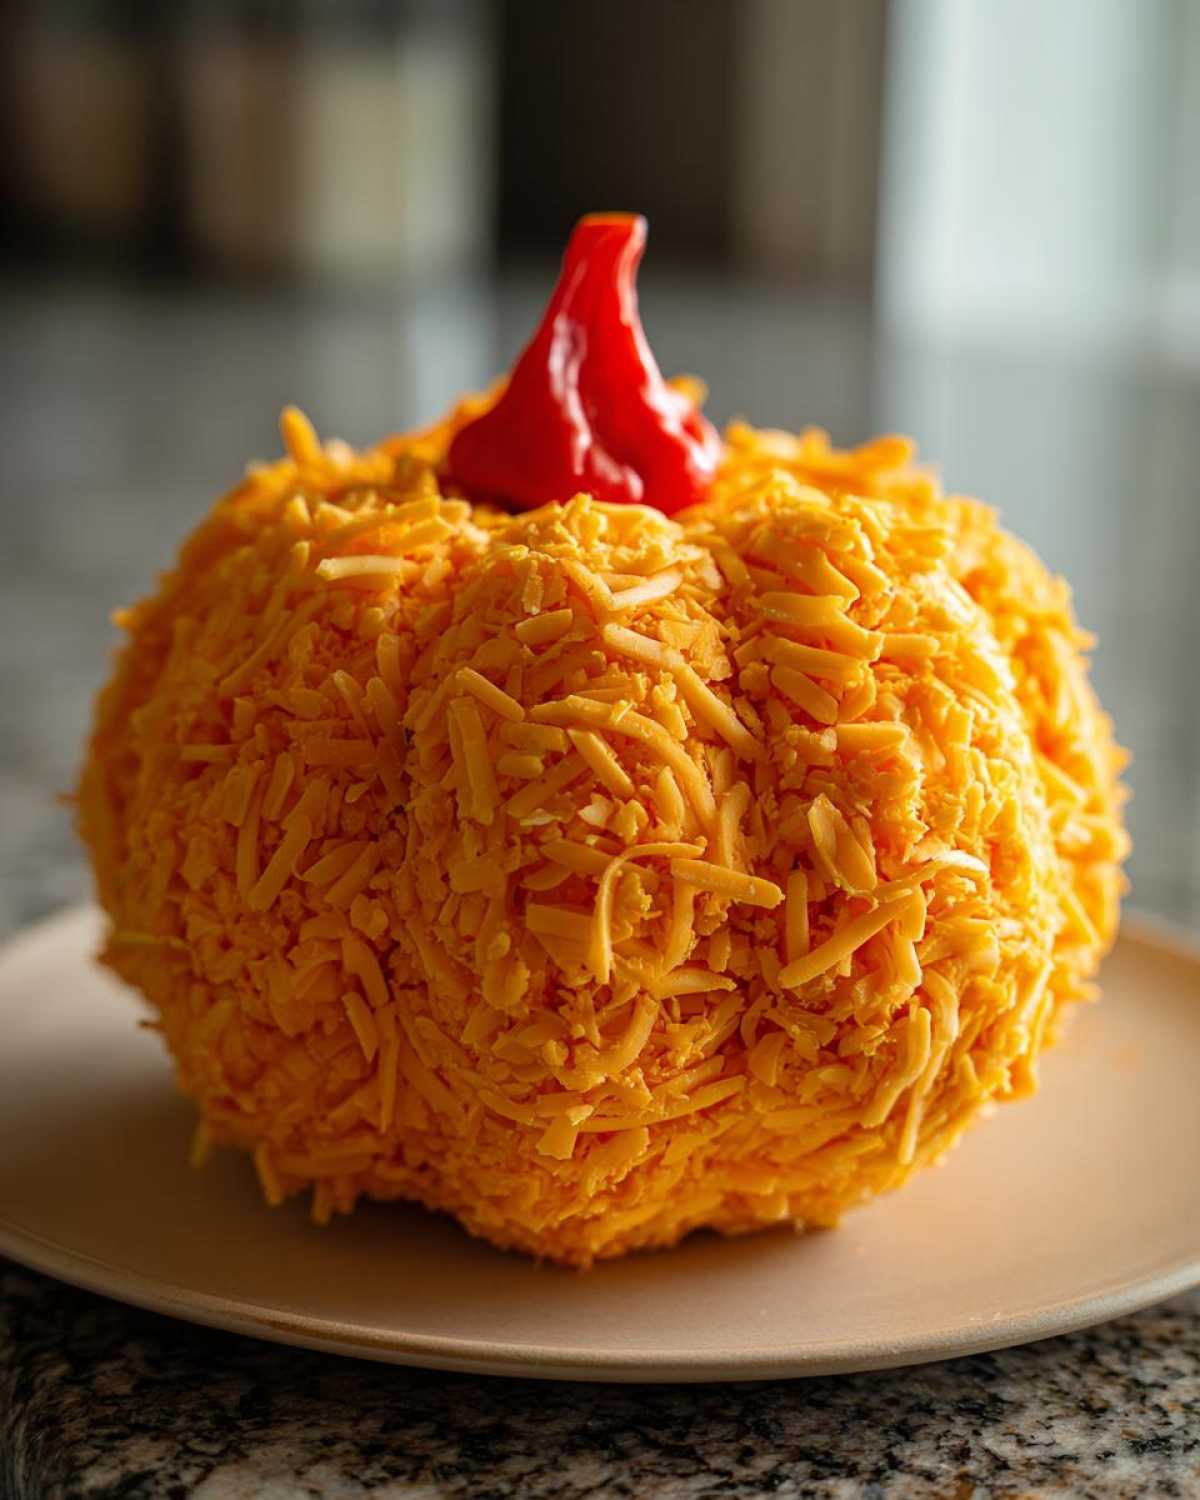
Now, for the stem: take that small bell pepper and cut a short, thick piece. Gently poke this right into the top center of your chilled ball. It instantly transforms from a cheese orb to a festive little pumpkin! Arrange it on your prettiest platter surrounded by crackers and veggies, and get ready for the compliments.
Tips for Success with This Easy Cheese Ball Recipe
You know I always want your simple feasts to feel regal, and with this Easy Cheese Ball Recipe, success is all about respecting the ingredients’ temperature. My number one rule, which I learned the hard way after one lumpy batch, is that the cream cheese cannot be cold. If it’s cold, you end up fighting it, and that’s not treating yourself like royalty! It needs to be completely, gloriously soft so it incorporates the shredded cheddar without any fuss.
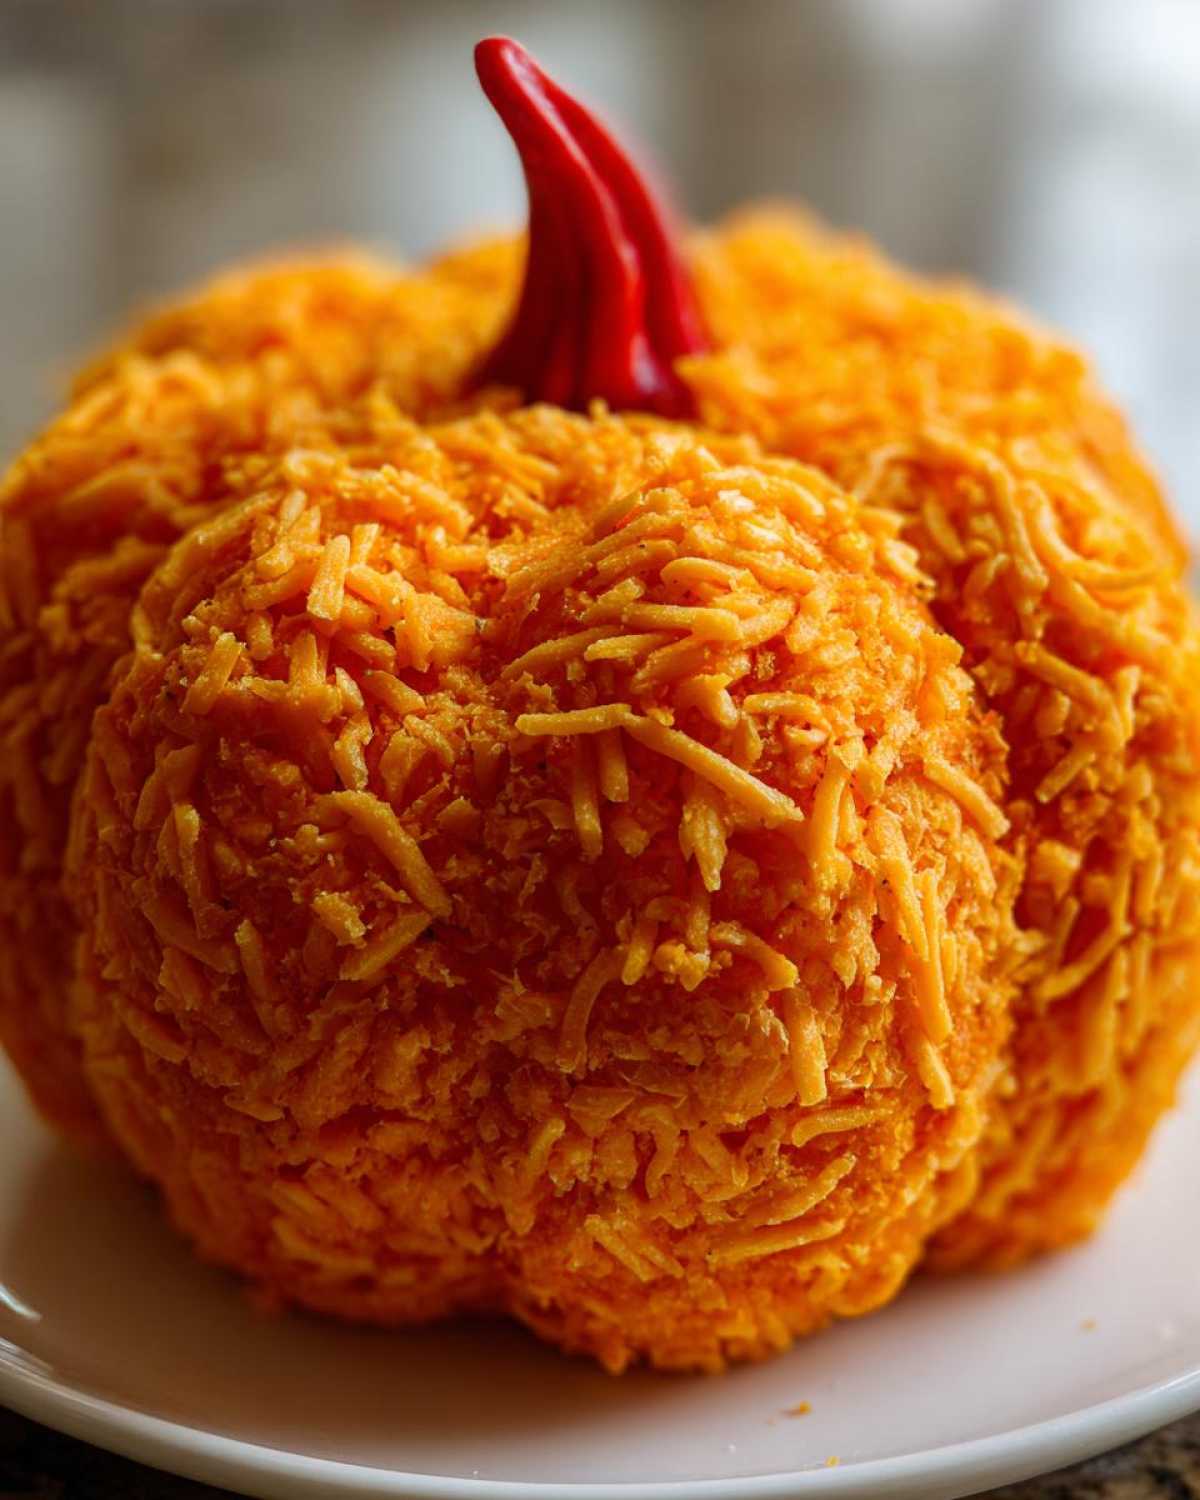
Second, please do not rush the chilling phase. I know you want to get this beautiful creation onto the table immediately, but that time in the fridge—at least two hours—is what dictates whether you have a perfect pumpkin shape or a melted, sad cheese puddle. Chilling builds the structure so the twine lines really pop. For more inspiration on making your everyday life feel special, I always share my little rituals over on the main blog page.
Serving Suggestions for Your Pumpkin Shaped Food Centerpiece
Now that you have this stunning pumpkin shaped food ready to go, the final act is pairing it correctly! Remember, this isn’t just any dip; it’s a centerpiece, so we need dippers that can hold up to its creamy texture. We are aiming for maximum enjoyment without things breaking apart—we want a true crowd-pleasing appetizer experience!
You have options based on what you love. If you’re going for maximum crunch, grab sturdy crackers—pretzel crisps are my favorite because they add a nice salty contrast. If you want something a little lighter or healthier, sliced cucumbers or sturdy carrot sticks work fantastic. We always have a mix on the platter so everyone finds something they like. For more ideas on balancing rich dips, check out my recipe for whipped ricotta!
Make-Ahead and Storage for Your Thanksgiving Appetizers
This is where we really reclaim our time, my friends! Being a good host shouldn’t mean scrambling right before everyone rings the doorbell. The beauty of shaping this savory confection is that it actually improves if you give it time to chill properly. You can comfortably make this entire pumpkin cheese ball up to two full days in advance, which is a lifesaver when you’re juggling sides and turkeys.
The key is storage. Once you’ve formed your pumpkin shape and wrapped it snugly in plastic wrap after the twine trick, it heads straight into the refrigerator. Keep it wrapped tightly. This keeps any fridge smells out and ensures the cheese mix stays firm and holds those gorgeous ridges Marco and I create. When you’re ready to serve your fantastic Thanksgiving appetizers, just unwrap it, pull off the twine, pop in the pepper stem, and boom—stress level zero. If you are tackling the main event, Marco’s foolproof gravy recipe is perfect for making ahead too; you can see how we tackle that here.
Frequently Asked Questions About This Fall Appetizer Ideas
When you’re trying something new, especially when it’s supposed to be the star of your spread, I always get a few questions before everyone sits down. Don’t worry; I’ve gathered the most common ones about making this centerpiece the star of your Fall Appetizer Ideas lineup.
Can I use cream cheese straight from the fridge?
Oh, absolutely not! If you try to mix it cold, you’ll end up with a clumpy mess, and you’ll start stressing out before you even cover it in cheese. The cream cheese needs to be fully softened. I usually take mine out about an hour before I plan to start mixing. You want it soft enough to mash easily with a fork, but not warm or greasy. This is the secret to getting that silky texture we are looking for in this festive cream cheese appetizer.
What if I don’t have twine or string to make the ridges?
This is such a good question for those last-minute realizations! If you don’t have clean kitchen twine, you can definitely improvise for that pumpkin shaped food look. You could use long strips of sturdy aluminum foil wrapped tightly around the ball, or even clean dental floss if you are careful. The goal is just gentle compression to create those vertical valleys. Just remember to pull it off before you serve it, or you’ll have a very confused guest!
Can I add bacon, nuts, or make it spicy?
You bet you can! This recipe is a fantastic base for your own spin on savory fall snacks. If you want to add bacon, make sure it’s cooked completely crisp first, cooled down, and chopped very finely before you fold it in with the cheddar. For heat, a tiny dash of cayenne pepper mixed into the cheese base works wonders, balancing that sharp cheddar beautifully. I know some people love adding toasted pecans for crunch, too, though I usually keep mine strictly vegetarian for my potluck alternatives.
How long can this cheese ball last in the fridge before serving?
This is why it’s one of my favorite make ahead party dips! You can shape and coat it completely, wrap it tightly in plastic (the tighter the better for freshness), and keep it chilled for up to two days. If you are getting it ready that far ahead, I suggest waiting to stick the bell pepper stem in until about 30 minutes before your guests arrive. It keeps the pepper looking its freshest! If you ever have leftovers, they store just as well.
If you are exploring more ideas for easy entertaining, I highly recommend my recipe for hearty chicken vegetable soup; it makes a wonderful, comforting option alongside cheesy bites!
Nutritional Estimates for Your Savory Pumpkin Cheese Ball
Now, I always say that tracking calories isn’t the point when we are treating ourselves like royalty, but I know some of you like the estimates for planning your holiday entertaining ideas. Since this is a rich, savory appetizer, keep in mind that serving size is crucial!
Per estimated serving (1/12th of the ball):
- Calories: around 185
- Fat: 16g (with 10g saturated)
- Protein: 8g
- Carbohydrates: only 2g
It’s definitely best served with lots of fresh veggies if you are looking for a lighter pairing!
Share Your Pumpkin Cheese Ball Creation
I truly hope this recipe brings a little bit of regal, low-stress fun to your autumn gatherings. Seriously, let me know how it went! Did your guests rave about the shape? Did you try adding bacon to your version? Drop all your thoughts, tips, and ratings in the comments below. Seeing your stunning centerpieces makes my day! If you need more inspiration for your holiday planning, check out how others made this amazing dish at The Kitchen Moods blog here.
Nutritional Estimates for Your Savory Cheese Ball
Now, I always say that tracking calories isn’t the point when we are treating ourselves like royalty, but I know some of you like the estimates for planning your holiday entertaining ideas. Since this is a rich, savory appetizer, keep in mind that serving size is crucial!
Per estimated serving (1/12th of the ball):
- Calories: around 185
- Fat: 16g (with 10g saturated)
- Protein: 8g
- Carbohydrates: only 2g
It’s definitely best served with lots of fresh veggies if you are looking for a lighter pairing!
Share Your Pumpkin Cheese Ball Creation
I truly hope this recipe brings a little bit of regal, low-stress fun to your autumn gatherings. Seriously, let me know how it went! Did your guests rave about the shape? Did you try adding bacon to your version? Drop all your thoughts, tips, and ratings in the comments below. Seeing your stunning centerpieces makes my day! If you need more inspiration for your holiday planning, check out how others made this amazing dish at The Kitchen Moods blog here.
PrintPumpkin Shaped Cheese Ball: The Ultimate Make-Ahead Fall Appetizer

Create a stunning, pumpkin-shaped cheese ball that is perfect for Halloween parties or Thanksgiving feasts. This easy, savory appetizer uses sharp cheddar and cream cheese, and you can prepare it ahead of time for stress-free entertaining.
- Prep Time: 20 min
- Cook Time: 0 min
- Total Time: 2 hr 20 min
- Yield: 12 servings
- Category: Appetizer
- Method: Chilling
- Cuisine: American
- Diet: Vegetarian
Ingredients
- 16 ounces cream cheese, softened
- 3 cups sharp cheddar cheese, finely shredded, divided
- 1/2 cup green onion, finely chopped
- 1 teaspoon ranch seasoning mix (optional, for extra flavor)
- 1 small orange or red bell pepper (for the stem)
- Assorted crackers or vegetable sticks for serving
Instructions
- In a large bowl, combine the softened cream cheese, 1 1/2 cups of the shredded cheddar cheese, chopped green onion, and ranch seasoning, if using. Mix until completely smooth and blended.
- Shape the cheese mixture into a round ball. Place the ball onto a sheet of plastic wrap.
- Use the remaining 1 1/2 cups of shredded cheddar cheese to coat the outside of the ball evenly.
- To create the pumpkin shape, take four long strips of twine or sturdy string. Wrap them around the cheese ball, positioning them vertically from top to bottom, spaced evenly apart, to mimic pumpkin ribs. Tie the twine securely at the top and bottom.
- Wrap the entire cheese ball tightly in plastic wrap and refrigerate for at least 2 hours, or up to 2 days, to allow it to firm up and hold its shape.
- Before serving, carefully remove the twine. Cut the bell pepper into a small, short piece to resemble a stem and insert it into the top center of the cheese ball.
- Arrange the finished pumpkin cheese ball on a serving platter surrounded by crackers and vegetables.
Notes
- You can make this appetizer up to two days in advance; just keep it wrapped tightly in the refrigerator.
- For a deeper orange color, you can mix 1/4 teaspoon of pumpkin pie spice (the savory kind, not the sweet baking kind) into the cheese mixture, or use a small amount of orange food coloring if you want a brighter look.
- Serve this crowd pleasing appetizer with sturdy crackers, pretzel crisps, or sliced cucumbers and carrots.
Nutrition
- Serving Size: 1/12 of cheese ball
- Calories: 185
- Sugar: 1
- Sodium: 320
- Fat: 16
- Saturated Fat: 10
- Unsaturated Fat: 6
- Trans Fat: 0.3
- Carbohydrates: 2
- Fiber: 0
- Protein: 8
- Cholesterol: 45