

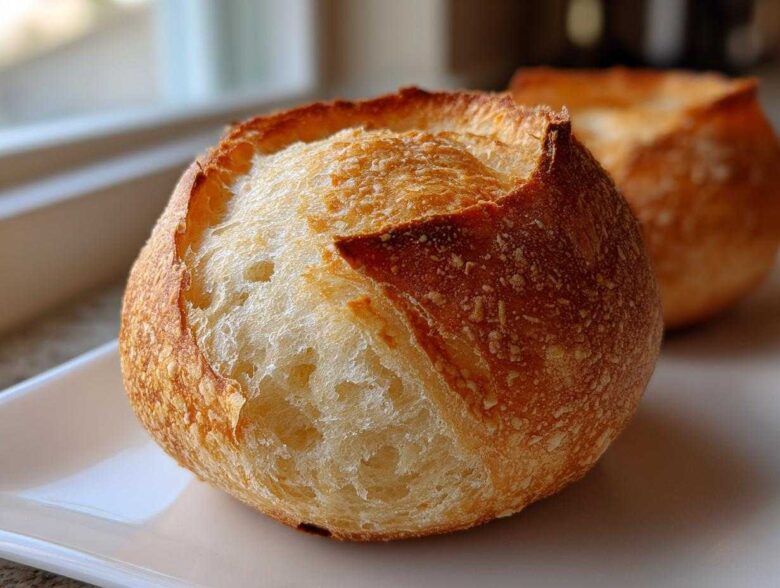
There is nothing, absolutely nothing, that screams cozy, regal comfort quite like a steaming bowl of thick, velvety soup cradled inside its own edible serving dish. For the longest time, Marco and I thought those amazing, crusty **bread bowls** only existed behind the counter at fancy bakeries, reserved for those special outings. Why settle for a simple dish when you can command a feast right at your own table? That’s the whole philosophy of Eatable Empress, isn’t it? We decided to stop saving the best for guests. If you want to know more about how we started this revolution, you can read all about our journey here. This recipe is our declaration that you deserve to eat like royalty whenever you want. We cracked the code to making perfect, soft, bakery-style bread bowls right here in our own kitchen—sturdy enough to hold chili, soft enough to dip, and entirely worthy of your dedicated Wednesday night dinner.
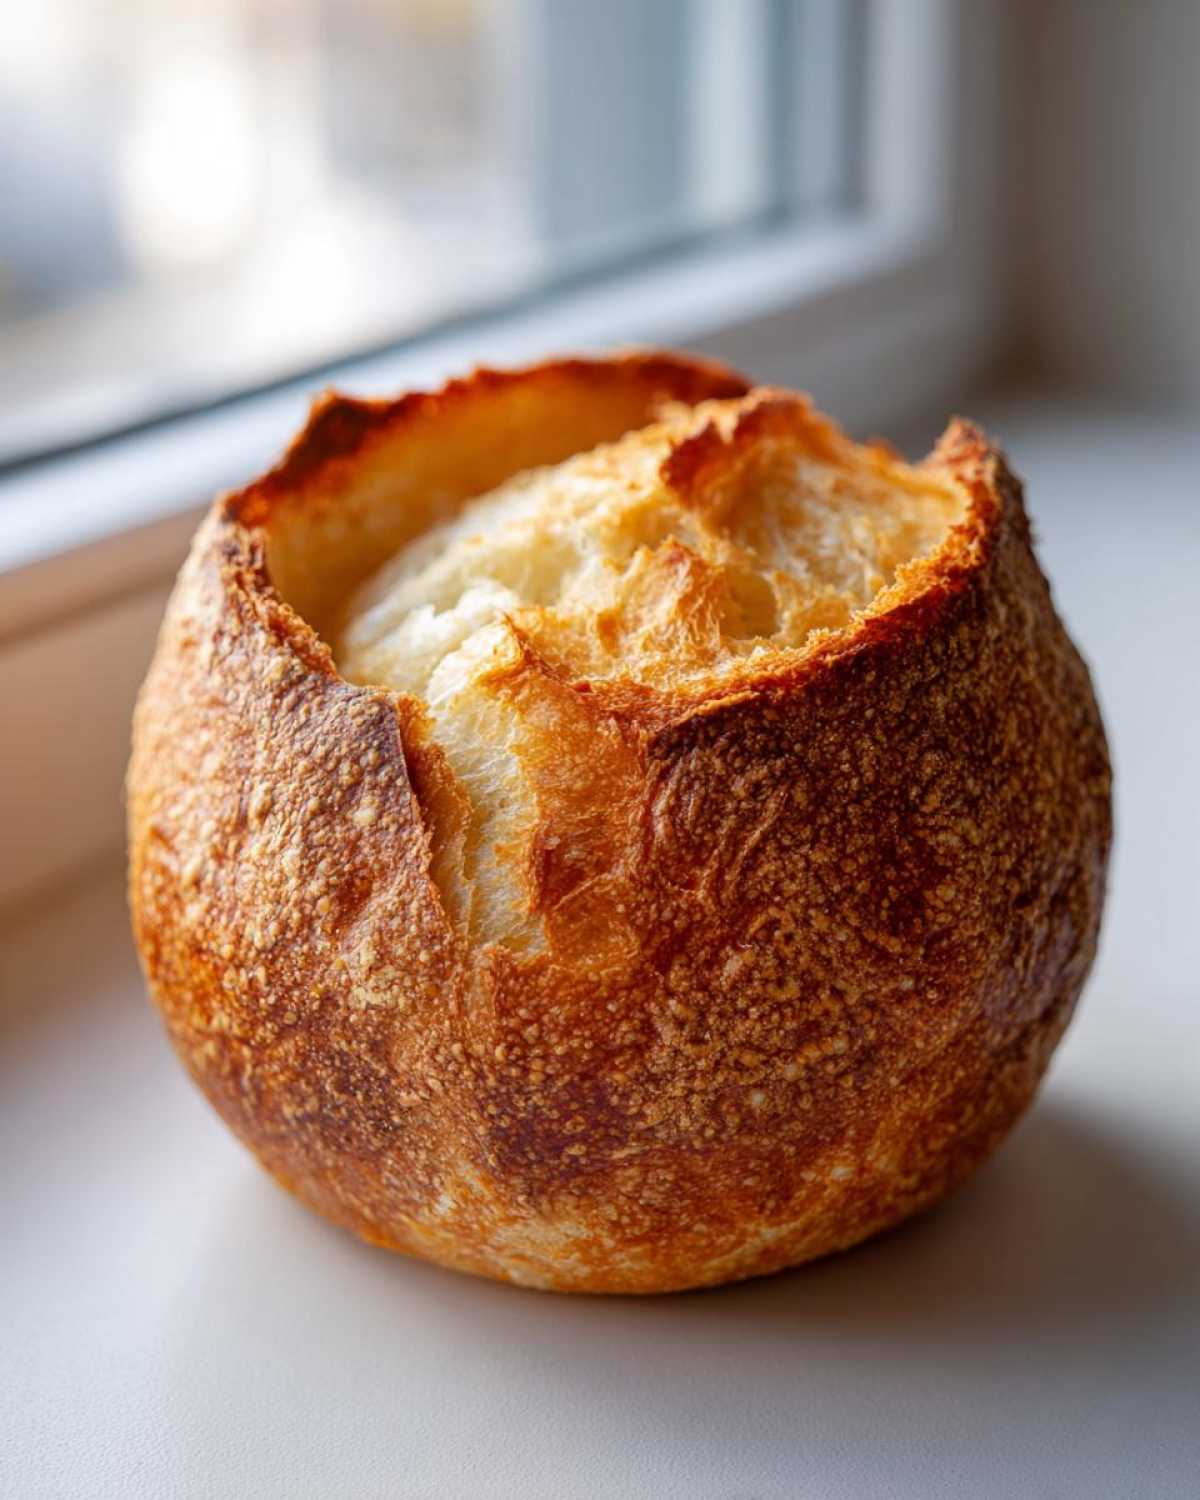
Why You Must Make Homemade Bread Bowls From Scratch
When you buy them pre-made? They are often heavy, kind of dry, and they always taste a little… sad. But when you make your own, it’s an entirely different experience! We stand by the homemade route because you control everything. Trust me, once you try these, no store-bought version will ever measure up.
- Superior, fresh-baked bakery quality right in your home kitchen.
- The flavor of homemade dough is incredible, especially with a little olive oil folded in.
- You get to save all the soft, fluffy centers for dipping later!
If you want to master another impressive crusty loaf, you should check out our classic French bread recipe next time.
Achieving That Perfect Crusty Bread Bowl Recipe Texture
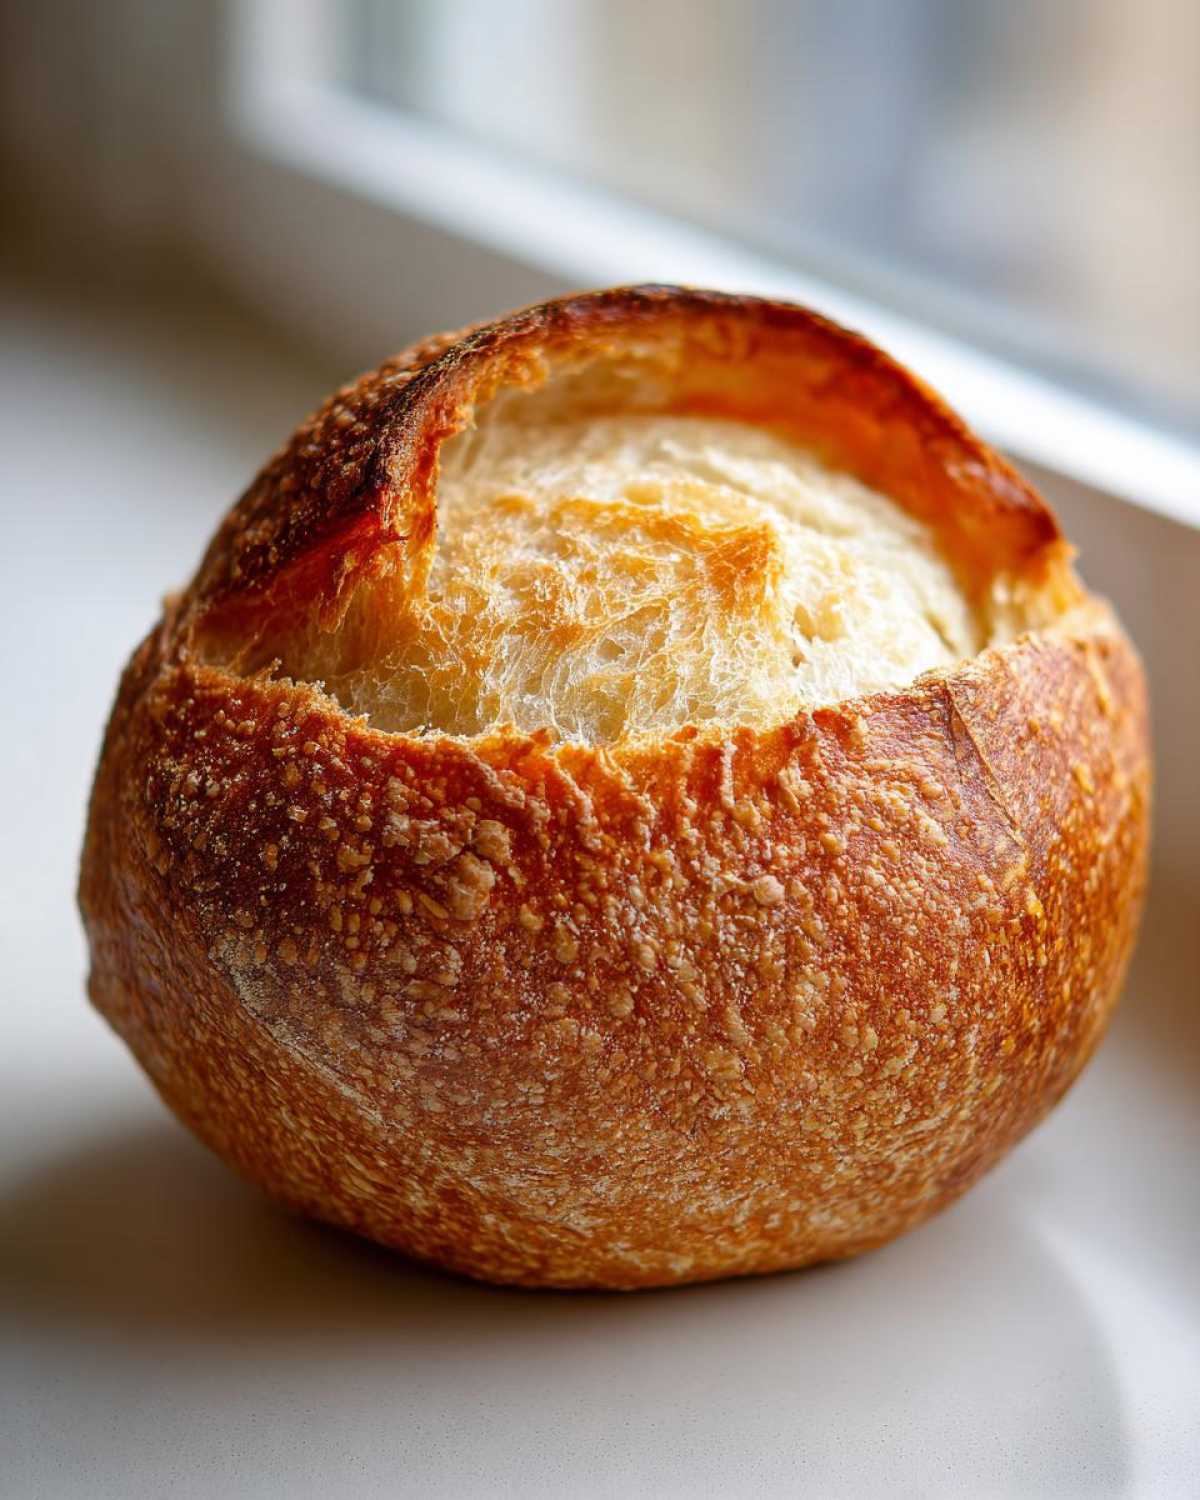
This is where the magic happens, friends. We are aiming for that glorious contrast. I need a crust so wonderfully crisp that it cracks a little when you press it, but the inside must be soft enough to soak up every last drop of soup without immediately dissolving. The secret to getting that sturdy, crusty edge is introducing steam mid-bake. Don’t worry, it’s super simple!
The Essential Ingredients for Bakery Style Bread Bowls at Home
To make the bread bowls that measure up (and trust me, they do!), you need a simple lineup of pantry staples. We’re not talking about anything fussy here. This short list yields four gorgeous, sturdy edible containers for whatever comfort food you plan to serve. When you read these measurements, you get the confidence that your dough will behave exactly as it should, making the process of creating perfect **bread bowls** truly foolproof.
- 1 teaspoon active dry yeast
- 1 teaspoon granulated sugar
- 1 cup warm water (about 105-115°F)
- 3 cups all-purpose flour, plus more for dusting
- 1 teaspoon salt
- 1 tablespoon olive oil
- 1 egg white, beaten with 1 teaspoon water (for egg wash)
Ingredient Notes and Substitutions for Soft Bread Bowl Dough
Let’s talk specifics! That water temperature for the yeast is non-negotiable—too hot, and you kill the yeast; too cool, and it sleeps forever. I always keep an instant-read thermometer handy just for this! If you want a slightly chewier, more artisan texture, feel free to swap out half a cup of that all-purpose flour for bread flour; it just pumps up the gluten structure. The olive oil is key; it settles into the dough structure and guarantees those interiors stay soft, which is vital for great **bread bowls**.
Easy Bread Bowl Tutorial: Step-by-Step Instructions to Make Bread Bowls
Okay, this is the fun part where we turn simple flour into edible masterpieces! Getting the process right ensures you get that ideal crusty exterior we talked about. First things first, we need to wake up that yeast. Mix your warm water, yeast, and sugar together gently and let it foam up—about five to ten minutes. If it doesn’t foam, start over, my friend! While that’s happening, whisk your flour and salt together in a big bowl. Once the yeast looks happy, pour in the yeast mixture and that tablespoon of olive oil. Stir until it’s all shaggy before turning it out onto a floured surface.
Kneading takes a little elbow grease, about six to eight minutes until it feels smooth and elastic. Marco always says kneading is my stress reliever! Then, we rise! Cover the dough and let it sit in a warm spot for one to an hour and a half until it’s doubled. After that big stretch, gently punch it down and divide the dough into four equal balls. Space them out on a parchment-lined baking sheet. They need one more rise—30 to 45 minutes—until they look puffy and ready for their close-up. Speaking of close-up, preheat that oven to 400°F (200°C)! And here’s that steam trick: put a shallow pan of water on the bottom rack while it preheats. That steam makes the **bread bowls** beautifully brown and crisp! If you want to dive deep into perfecting your dough structure, check out our guide on sourdough sandwich bread for more kneading secrets.
Tips for Shaping and Baking Perfect Bread Bowls
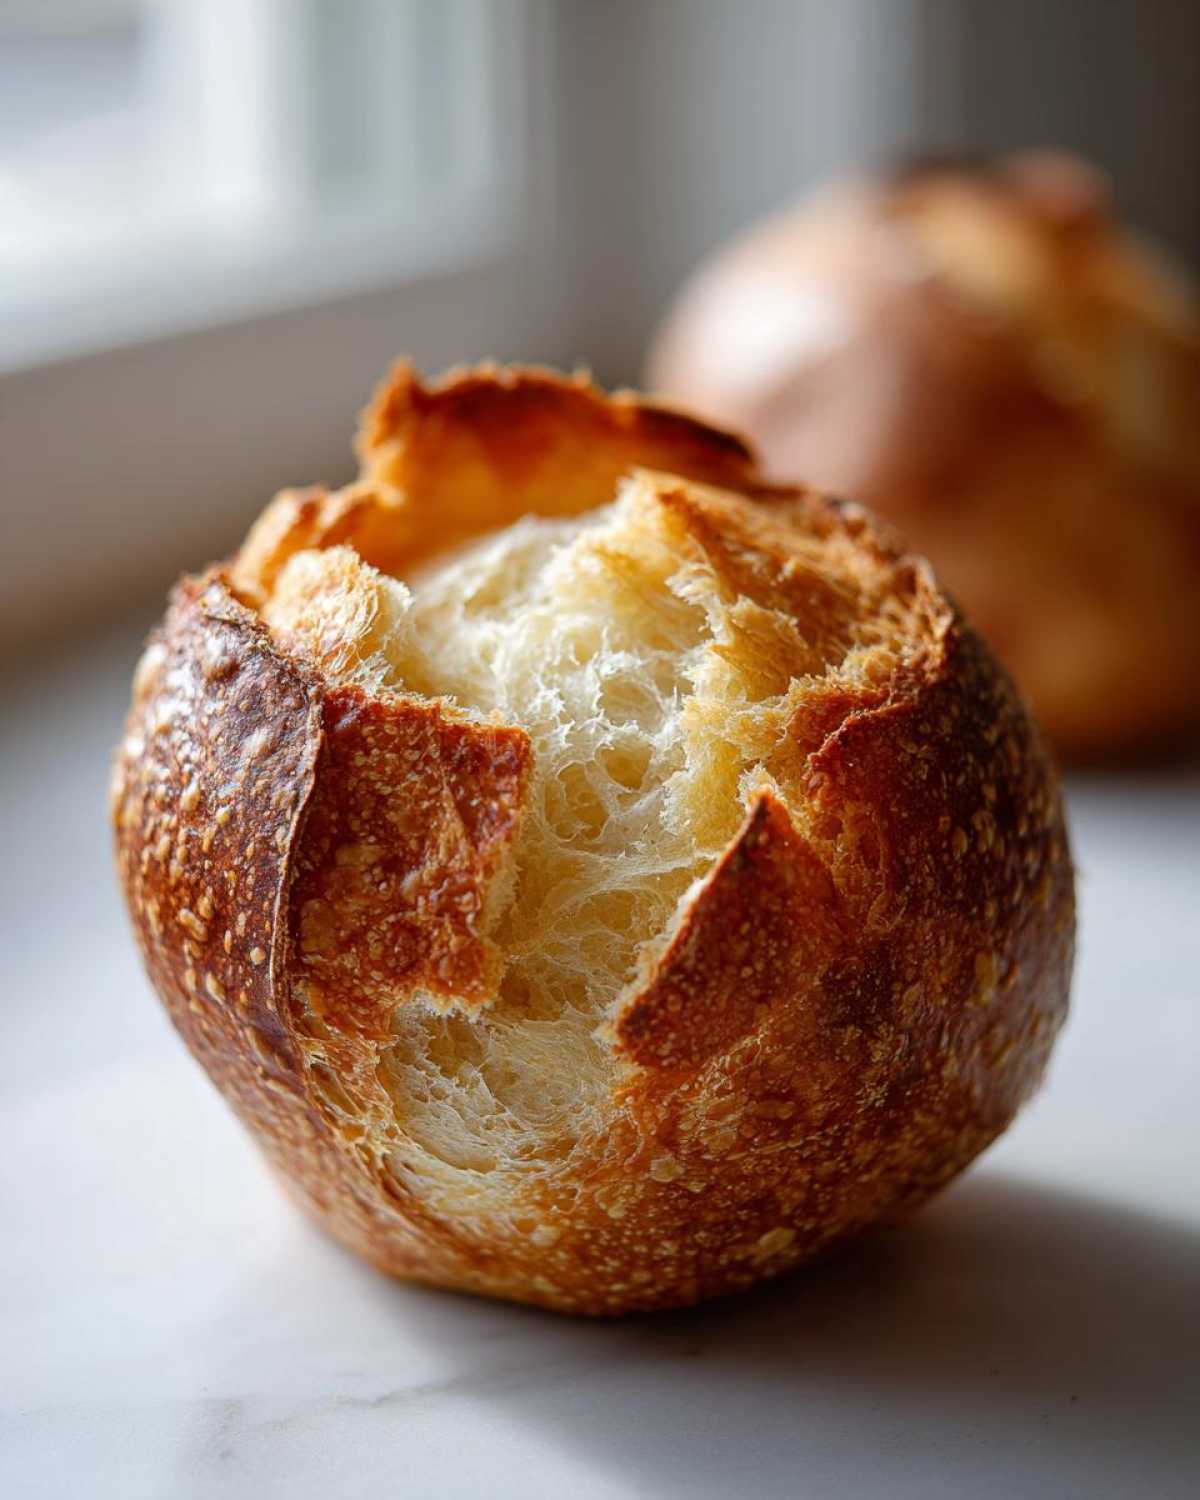
The key to a good shape is making those dough balls tight! When you roll them, pull the edges under toward the bottom so you create surface tension. That tightness helps them stand tall. After the final 30-minute puff, brush the tops lightly with your egg white wash—this gives them that gorgeous, professional golden shine Marco always comments on. Bake them until they sound totally hollow when tapped. Now, a little trick I learned the hard way after filling one with clam chowder too soon: let them cool completely, then brush the inside cavity lightly with some extra melted butter before you fill them. It’s our little secret to create a barrier against soggy bottoms so your edible vessels hold up! When you’re ready to see how others master this technique, you can check out this excellent resource on homemade bread bowls.
Hollowing Out Your Bread Bowls for Serving Soup
Patience is a virtue, especially right after baking! You absolutely must wait until those gorgeous creations have cooled for at least 15 minutes. If you cut them hot, the crumb structure collapses, and you end up with a very sad, squished serving dish. Take a sharp knife and gently cut a circle around the top—don’t cut all the way through! Leave about an inch of bread border for a sturdy rim. Now, scoop out that soft interior bread. Seriously, don’t waste it! Toss those centers with a little olive oil and herbs; they are the essential dipping pieces for your amazing **bread bowls**.
Filling Recipes for Bread Bowls: Comfort Food Pairings
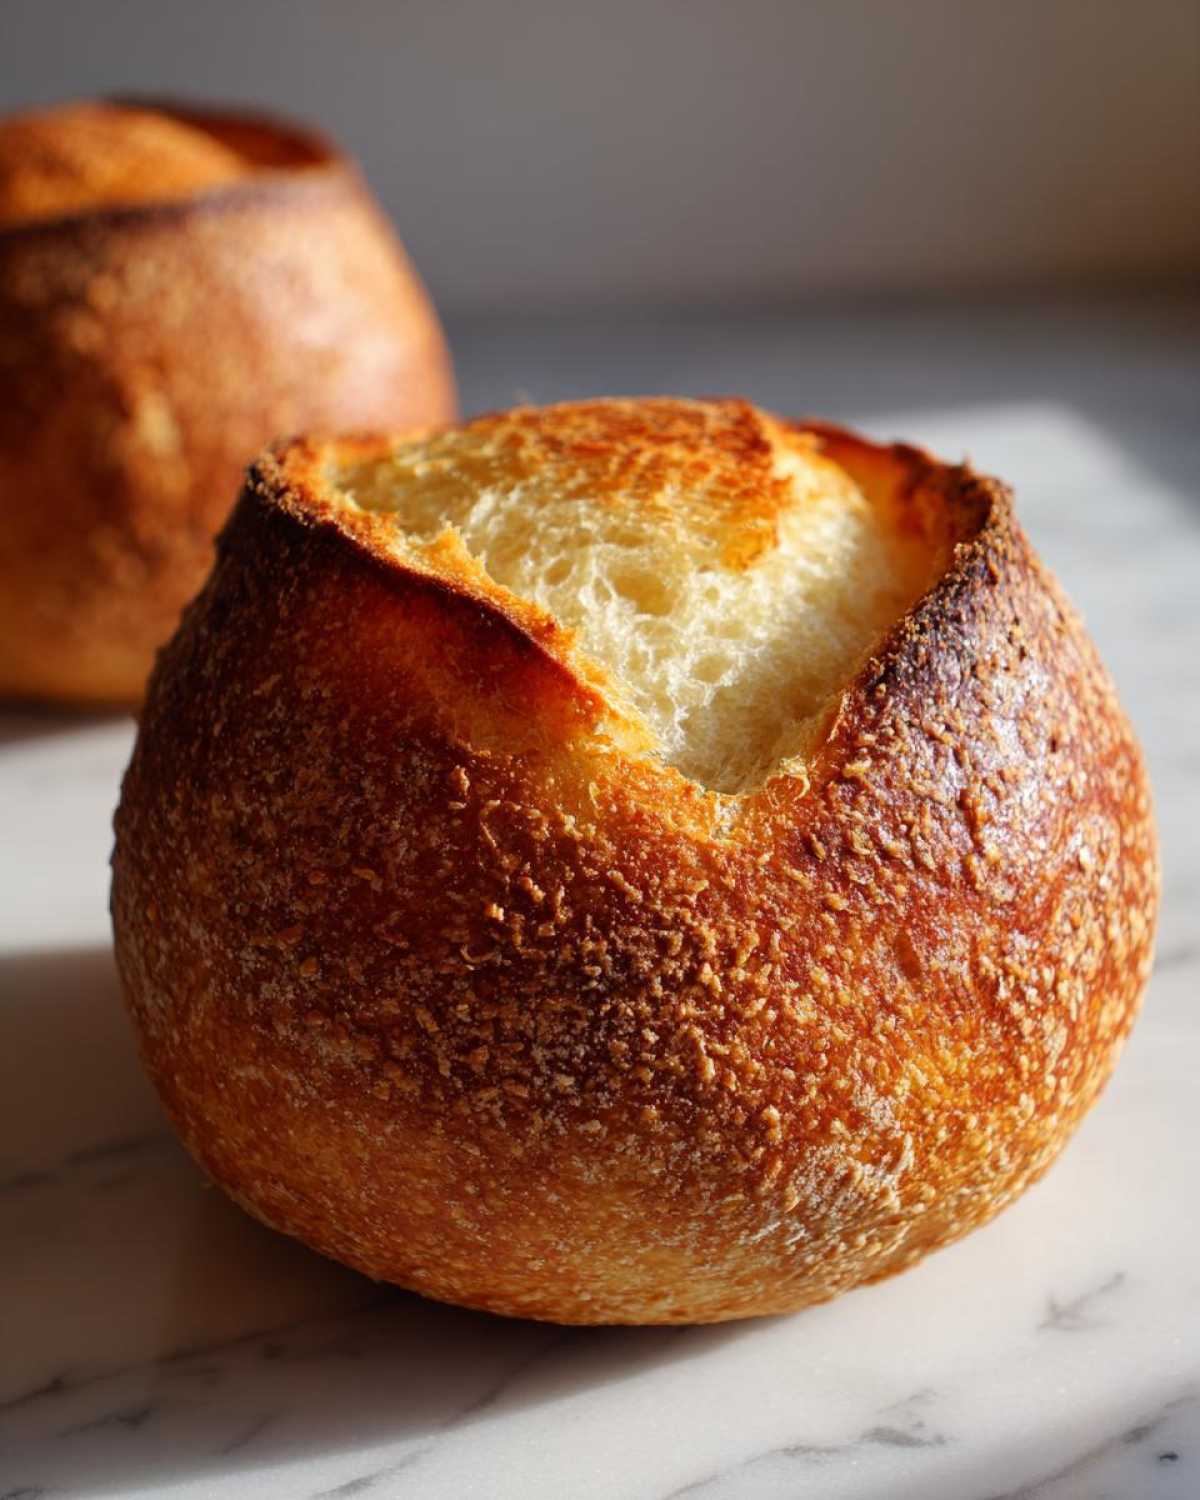
Now that you have the perfect edible vessels, the real celebration begins: what are we filling them with? This is where we lean heavily into pure comfort food territory. My bread bowls are absolutely stellar used for something hearty like Marco’s famous pumpkin turkey chili, which you can find the recipe for right here. Of course, beef stew or, even better, a creamy, thick chicken and vegetable soup works like a dream too! For that soup specifically, check out our easy, hearty version. The sturdy walls of your homemade **bread bowls** mean you don’t have to worry about them disintegrating before you finish every last bite.
Serving Broccoli Cheddar Soup in a Bread Bowl
If you loved the idea of the cheese and broccoli pairings everyone talks about, you need to make sure your soup is thick! If your broccoli cheddar soup is too watery, it will soak through before you want it to. Simmer it down a little longer than usual so it’s almost spoonable on its own—that extra thickness is what keeps your **bread bowls** structurally sound and delicious right up until the last scoop.
Ideas for Edible Serving Bowls for Dips
Don’t just think soup! These make phenomenal appetizer carriers. Imagine serving warm spinach and artichoke dip inside one of these golden beauties. Or maybe a rich, three-cheese smoked queso. You make the dip a little thicker than usual, and the bread acts as the perfect, soft, textured scoop. For a fun variation, you could even use a pretzel bake! If you want to try a pretzel version, check out Daisy’s great recipe for pretzel bread bowls!
Troubleshooting Common Bread Bowls Issues
Even though this recipe aims for perfection, sometimes the dough just doesn’t cooperate! If your dough didn’t double in size during the first rise, it usually means your water was too cold for the yeast, or maybe the yeast was old—oops! Give it a second chance in a slightly warmer spot, but if it stays stubbornly flat, start over with fresh yeast and warmer water.
Now, if you’ve baked them beautifully but they collapsed when you filled them with soup, that usually means one of two things happened. Either you didn’t let them cool long enough before cutting the tops off, or your soup was too thin. Remember that trick about brushing the inside with egg white or butter? That really helps reinforce the structure against wet fillings!
Storage and Reheating Instructions for Your Bread Bowls
Once you’ve baked those gorgeous edible containers, you want them to last, right? If you have whole, uncut **bread bowls** left over, just wrap them tightly in plastic wrap and leave them on the counter for two, maybe three days. Refrigeration makes bread hard, and we definitely don’t want that!
If you’ve already hollowed them out for serving, wrap the hollow shells tightly in plastic wrap or foil. This locks in the freshness. To bring them back to glory, just pop them in a 350°F oven for about 5 to 7 minutes until the crust feels crisp again. Trust me, they’ll taste like they just came out of the oven!
Frequently Asked Questions About Homemade Bread Bowls
I know you probably have a few last-minute questions before plunging into the dough. Baking bread can feel intimidating, but these are simple adjustments to fit your schedule!
Can I make the dough for these bread bowls ahead of time?
Absolutely! You can complete step three—the kneading—and then place the dough in an oiled, covered bowl in the refrigerator for up to 24 hours. This slow, cold proofing actually develops a deeper flavor! Just remember to let it sit on the counter for about an hour to take the chill off before you punch it down and shape those beautiful **bread bowls**.
What is the best flour to use for the soft bread bowl dough?
We use all-purpose flour for the basic recipe because it’s what most people have, and it yields a lovely result. If you are aiming for that chewy bakery texture or perhaps a **sourdough bread bowl guide** style, then using bread flour, with its higher protein content, is your best bet for structure.
Can I freeze the bread bowl dough?
Yes, you can freeze the dough! After you knead it (step 3), divide it into the four balls. Wrap each tightly in plastic wrap, then foil, and freeze. When you are ready to bake, take one out the night before and let it thaw slowly in the fridge, followed by the countertop rest mentioned above. It’s a great way to have a **quick bread bowl recipe** ready instantly!
What is the difference between these and a pretzel bread bowl recipe?
That’s a great question! Our standard recipe gives you a beautiful, slightly tangy, crusty bread bowl that is divine with chili. A **pretzel bread bowl recipe** requires a totally different finish—you have to boil the dough briefly in a baking soda bath before baking. That bath is what caramelizes the crust into that classic dark, salty pretzel exterior. If you’re looking for a fun departure, definitely try that method!
If you are whipping up a quick side for your main feast, you might also enjoy our recipe for quick homemade chocolate milk!
Estimated Nutrition for These Classic Bread Bowls
Now, I always preface this section by saying that because these are homemade, the actual nutritional profile depends on what flour you use and if you add any extra fats. Having said that, here are our estimates for one standard bread bowl, based on the recipe listed above!
- Serving Size: 1 bread bowl
- Calories: 320
- Sugar: 3g
- Sodium: 350mg
- Fat: 4g
- Carbohydrates: 63g
- Protein: 10g
We think those numbers are pretty regal for such a satisfying slice of comfort!
Share Your Royal Feast of Bread Bowls
That’s it! You’ve done it! You’ve gone from wanting restaurant-quality comfort food to having beautiful, bakery-style **bread bowls** cooling on your rack. Marco and I are genuinely so excited for you to sit down and enjoy this feast, treating yourself like the royalty you are. Please, don’t keep this magic to yourself!
When you serve up your favorite soup or dip in these edible creations, snap a picture and tag us! Seeing your tables transformed into a sanctuary of simple, delicious food is why we share these rituals. If you loved this recipe, let us know below—a quick rating or a comment about your favorite filling helps other home cooks feel confident starting their own baking journey.
We post new rituals and recipes all the time on the blog perfect for your simple feast; check out our latest discoveries when you have a moment here. Long live the simple feast, and long live your amazing new skill at making incredible bread!
PrintEasy Homemade Bread Bowls: Bakery Style Edible Soup Bowls

Learn how to make soft, crusty homemade bread bowls from scratch. These bakery-style edible soup bowls rival restaurant quality and are perfect for filling with your favorite chili, stew, or dip.
- Prep Time: 20 min
- Cook Time: 25 min
- Total Time: 1 hour 50 min
- Yield: 4 servings
- Category: Baking
- Method: Baking
- Cuisine: American
- Diet: Vegetarian
Ingredients
- 1 teaspoon active dry yeast
- 1 teaspoon granulated sugar
- 1 cup warm water (about 105-115°F)
- 3 cups all-purpose flour, plus more for dusting
- 1 teaspoon salt
- 1 tablespoon olive oil
- 1 egg white, beaten with 1 teaspoon water (for egg wash)
Instructions
- Activate the yeast: In a small bowl, combine the warm water, yeast, and sugar. Let it sit for 5 to 10 minutes until foamy.
- Mix the dough: In a large bowl, whisk together the flour and salt. Pour in the yeast mixture and the olive oil. Mix until a shaggy dough forms.
- Knead the dough: Turn the dough out onto a lightly floured surface. Knead for 6 to 8 minutes until the dough is smooth and elastic.
- First rise: Place the dough in a lightly oiled bowl, turning to coat. Cover the bowl with plastic wrap or a clean towel. Let it rise in a warm place for 1 to 1.5 hours, or until doubled in size.
- Shape the bowls: Gently punch down the risen dough. Divide it into 4 equal pieces. Shape each piece into a tight, smooth ball.
- Second rise: Place the dough balls on a baking sheet lined with parchment paper, leaving space between them. Cover loosely and let them rise for another 30 to 45 minutes until puffy.
- Preheat and prepare: Preheat your oven to 400°F (200°C). Brush the tops of the dough balls lightly with the egg wash mixture.
- Bake: Bake for 20 to 25 minutes, or until the bread bowls are deep golden brown and sound hollow when tapped on the bottom.
- Cool and hollow: Let the bread bowls cool on a wire rack for at least 15 minutes. To serve, use a sharp knife to cut a circle around the top of each loaf, leaving a sturdy rim. Gently pull out the soft interior bread, creating an edible bowl.
Notes
- For a crustier exterior, place a shallow pan of water on the bottom rack of the oven while preheating to create steam.
- If you plan to fill the bowls with very wet soups like clam chowder, lightly brush the inside of the hollowed-out bowl with melted butter or an egg white and bake for 5 minutes to create a moisture barrier.
- Save the removed soft bread centers to dip into your soup or to make croutons later.
Nutrition
- Serving Size: 1 bread bowl
- Calories: 320
- Sugar: 3
- Sodium: 350
- Fat: 4
- Saturated Fat: 1
- Unsaturated Fat: 3
- Trans Fat: 0
- Carbohydrates: 63
- Fiber: 2
- Protein: 10
- Cholesterol: 0