

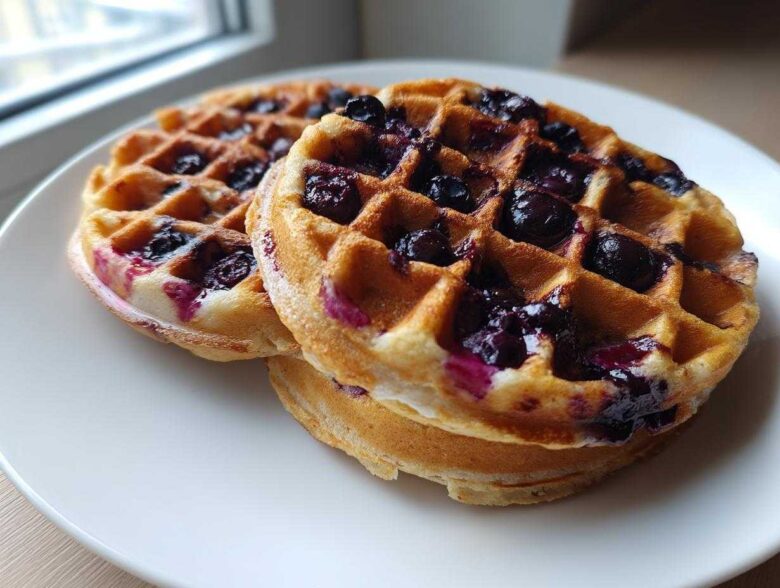
Oh, my goodness, you are going to *love* this! I swear, the number one breakfast tragedy I’ve encountered over the years is a sad, dense, crumbly gluten-free waffle. It’s heartbreaking! But I cracked the code, friends, and I’m practically buzzing to share my absolute favorite recipe for Gluten-Free Blueberry Waffles. Forget waiting around for dry, heavy discs; we are talking about waffles that come out golden, crispy on the edges, and fluffy as a cloud inside.
When I started baking without gluten, I nearly gave up on waffles entirely. Everything turned out heavy! But after years of testing blends, tweaking liquids, and using a few simple tricks, I perfected a batter so good, you won’t even know what you’re missing. If you want to see all my other favorite morning recipes, jump over to my breakfast archives here: amazing morning meals.
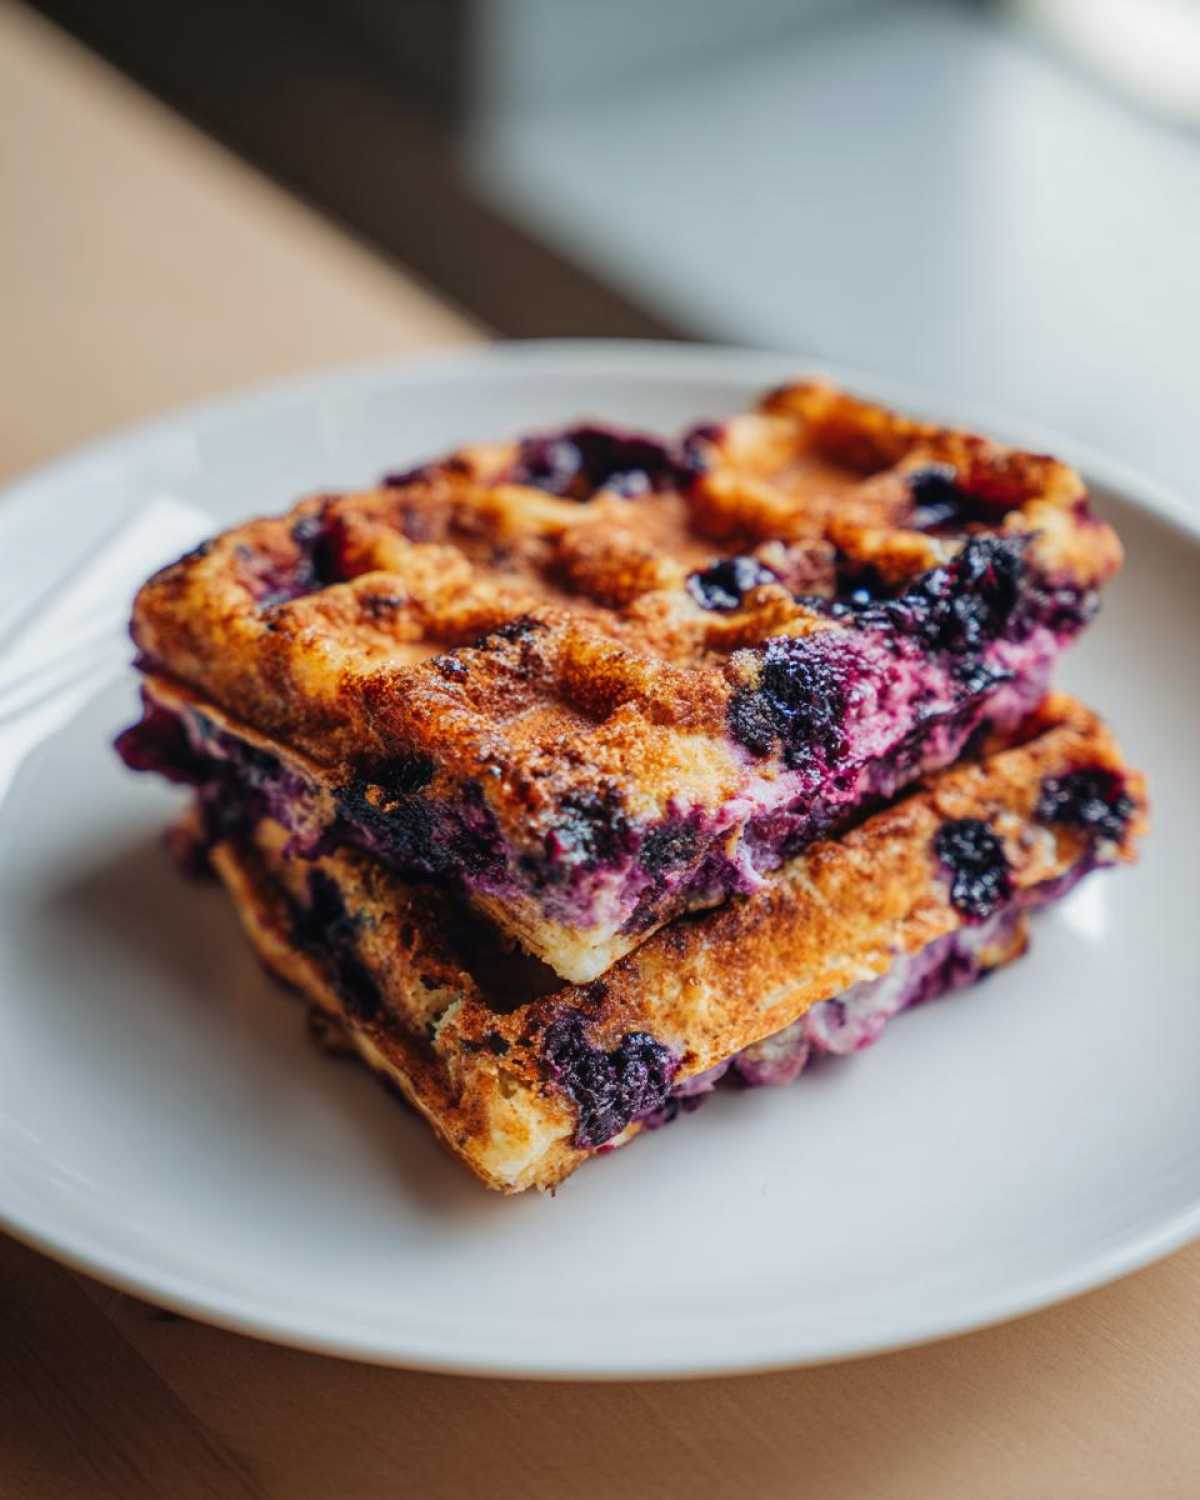
Why This Gluten-Free Blueberry Waffles Recipe Works for a Perfect Morning Meal
I know what you’re thinking: “Another gluten-free waffle recipe that will taste like cardboard?” Absolutely not! This particular way of mixing things up is my secret weapon for transforming standard GF blends into something truly special. We ditch the density and go straight for that satisfying crunch. Seriously, this is the blueprint for the best gluten free waffles you’ll ever make!
Here’s why this recipe delivers time and time again for a fluffy gluten free breakfast:
- The batter rests for just a few minutes, giving the flours time to hydrate properly, which stops that gritty texture.
- We use just the right amount of baking powder so you get real lift—no flat pancakes here!
- Because we focus on gentle mixing, you end up with beautifully crispy gluten free waffles that hold their shape.
- The blueberries stay suspended, meaning no sad pockets of fruit stuck at the bottom of the iron!
Essential Ingredients for Fluffy Gluten-Free Blueberry Waffles
Okay, let’s talk about the good stuff! Getting the right ingredients for gluten free blueberry waffles recipe isn’t just about swapping flour one-for-one; it’s about choosing components that mimic the structure gluten usually provides. Because we want these waffles light, not bricks, every measurement matters, especially when dealing with GF flours.
Here is what you absolutely need on hand for four perfect waffles:
- One and three-quarter cups of a good quality gluten-free all-purpose flour blend. Make sure it already has xanthan gum in it, unless you’re doing what I tell you in the notes below!
- Two tablespoons of standard white sugar—we keep this simple for a balanced sweetness.
- A big tablespoon of baking powder. This is crucial for lift!
- Half a teaspoon of salt to make all those sweet flavors pop.
- One and a half cups of milk. Honestly, any milk works here—dairy, almond, oat—it doesn’t change the outcome much.
- Two large eggs, well-beaten.
- Half a cup of unsalted butter, melted down gently.
- One teaspoon of good vanilla extract.
- And finally, one whole cup of those gorgeous blueberries! Fresh or frozen, either way works perfectly.
If you’re whipping up some overnight oats later this week, you can check out my amazing recipe for apple cinnamon overnight oats!
Ingredient Notes and Smart Substitutions for Gluten-Free Blueberry Waffles
This is where we build trust in this recipe! The flour blend is your foundation. If you decide to use a blend that is just rice flour and potato starch without xanthan gum, you *must* add about 1 teaspoon of xanthan gum yourself—it’s the binder that holds everything together and prevents crumbling. Trust me on this one; skipping the binder ends in a mess.
If you wanted to try using specialized flours, like all almond flour or solely oat flour, the texture will absolutely change. Almond flour tends to make things richer but flatter, and oat flour can soak up too much liquid. For this recipe to stay wonderfully fluffy, stick to a commercial 1:1 GF blend intended for baking.
For the dairy, if you’re avoiding lactose, feel free to swap the cow’s milk for soy or almond milk. The melted butter can easily be replaced with melted coconut oil or a plant-based butter stick for a completely dairy-free version. It’s so easy to adapt this for almost any dietary need when you know the structure is sound!
Step-by-Step Guide: How to Make Gluten-Free Blueberry Waffles
Alright, now that we have our fantastic ingredients lined up, it’s time to put this together! Making the easy gluten free waffle batter is simple, but the technique is what separates a great waffle from a rubbery disaster, especially when you’re working with gluten-free blends. Always, always start by getting your waffle iron fully preheated. That initial burst of heat is crucial for getting a crispy exterior right away.
Once the iron is hot, we move on to the actual mixing. We want to keep things airy, so we treat the dry and wet components separately before bringing them together for a brief, loving marriage. Don’t rush through this part!
Mixing the Easy Gluten Free Waffle Batter
First things first: grab a big bowl and whisk all your dry stuff—the flour mix, sugar, baking powder, and salt—really well. You want that leavening agent totally distributed! Then, in a separate bowl, whisk the milk, eggs, melted butter, and vanilla until they look nice and smooth. Don’t skip whisking the eggs first; it helps incorporate air.
Now for the moment of truth! Pour the wet mixture right into the dry ingredients. Okay, here is the absolute #1 rule for texture: Mix gently! I mean it. Use a spatula or wooden spoon and fold everything together until you *just* barely see the dry streaks disappear. If you beat this batter like you’re trying to whip meringue, you will develop the starches too much and end up with dense bricks. A few lumps are your best friend here; they mean you haven’t overmixed.
Once it’s *just* combined, you go straight to the blueberries. Gently—and I mean gently—fold them in, making sure they don’t all fall to the bottom of the bowl. If you want to see my favorite recipe for fluffy scones, check out this scone guide!
Cooking Your Gluten-Free Blueberry Waffles to Perfection
Ladle the batter onto your preheated iron. Don’t pack it down or try to spread it; just pour and close the lid. Because GF batters can sometimes be a bit stickier, I always give my iron a quick spray of non-stick oil even if it’s supposedly non-stick. Safety first!
The heat setting on your iron makes a huge difference, but generally, you are looking at 4 to 6 minutes. You’ll know it’s done not just because the steam stops puffing out, but when they look deeply golden brown. That’s the sign of a truly crispy gluten free waffle!
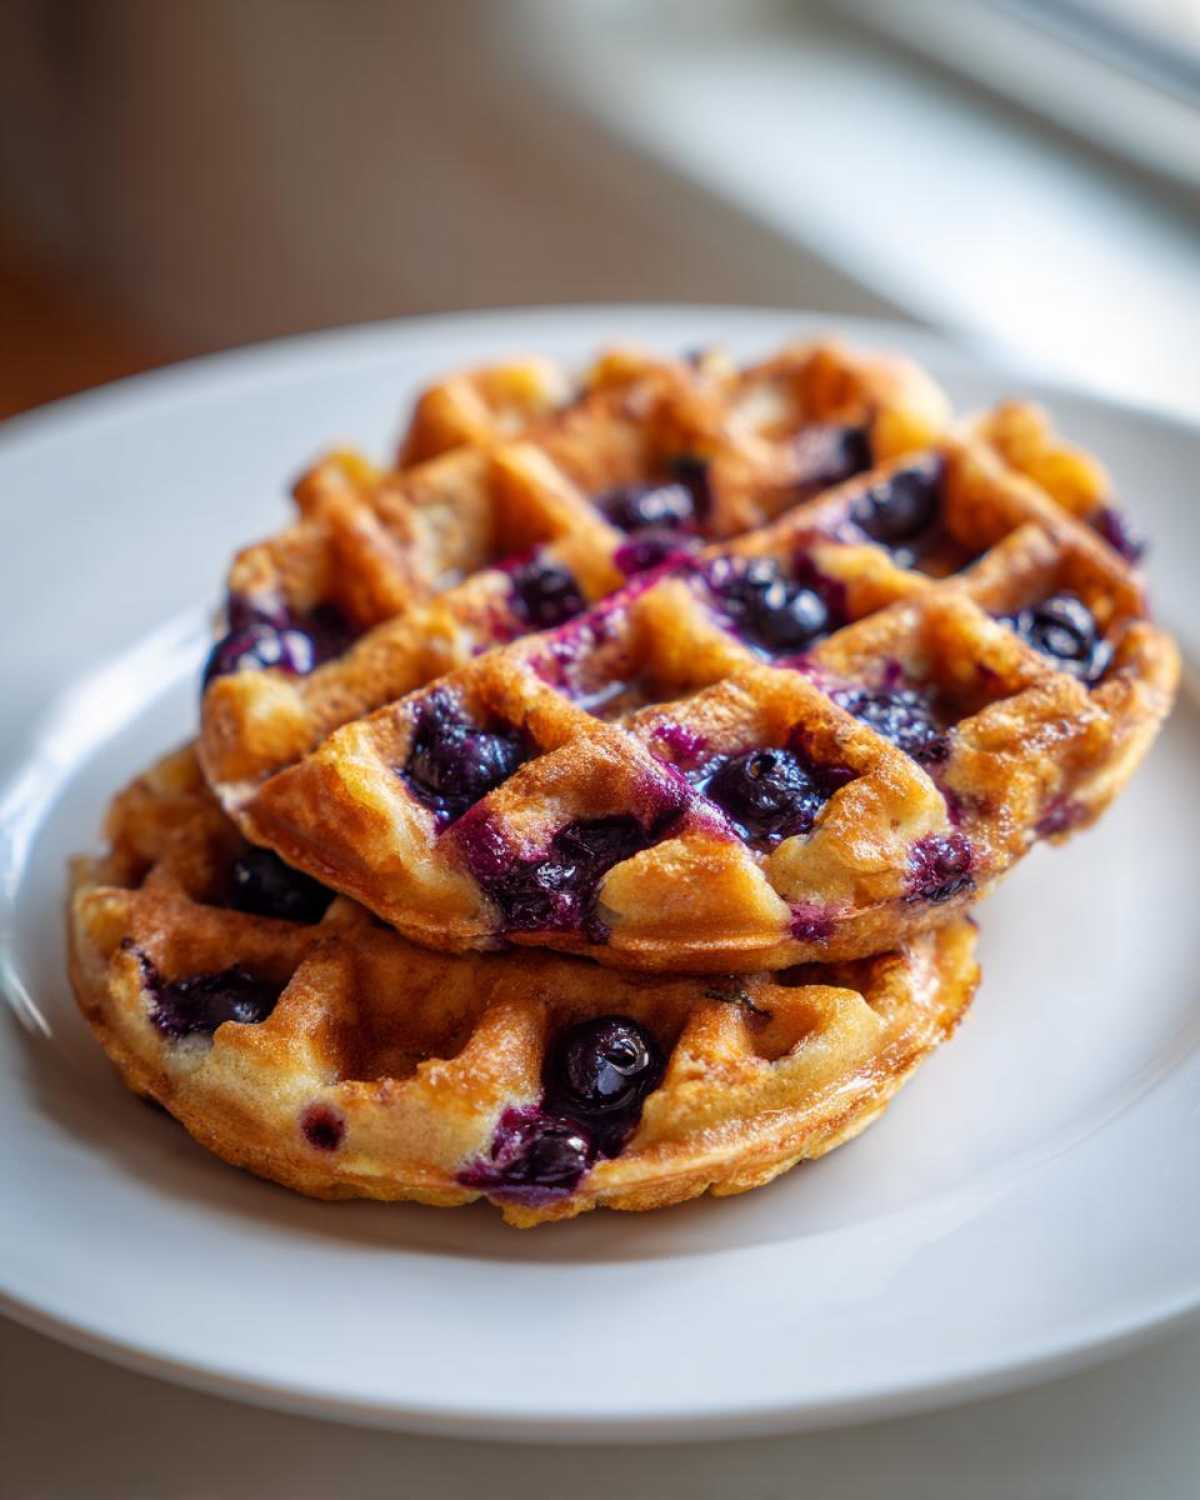
If you’re making a massive batch for brunch, don’t just stack them up on a plate, or the trapped steam will instantly soak the beautiful crispness we worked so hard for! Instead, set your oven to its lowest setting—around 200°F—and lay the finished waffles in a single layer on a wire rack set inside a baking sheet. They’ll stay perfectly warm while you finish the rest of the batter.
Pro Tips for the Best Gluten Free Waffles Texture
Listen, making these work every single time comes down to a couple of little tricks that GF bakers swear by. If you follow the steps above, you’ll get a great waffle, but these tips elevate it to the absolute perfect gluten free breakfast status. I learned early on that gluten-free flours are thirsty, but they’re also slow to drink!
My biggest piece of advice for achieving that unbelievable texture is letting the batter rest. Seriously, don’t just mix and pour immediately. Cover the bowl and let it sit on the counter for at least five minutes—ten is even better. This time allows the starches in the GF blend to fully hydrate. If you skip this, the flour sucks moisture out of the cooked waffle, leaving you with that telltale dryness.
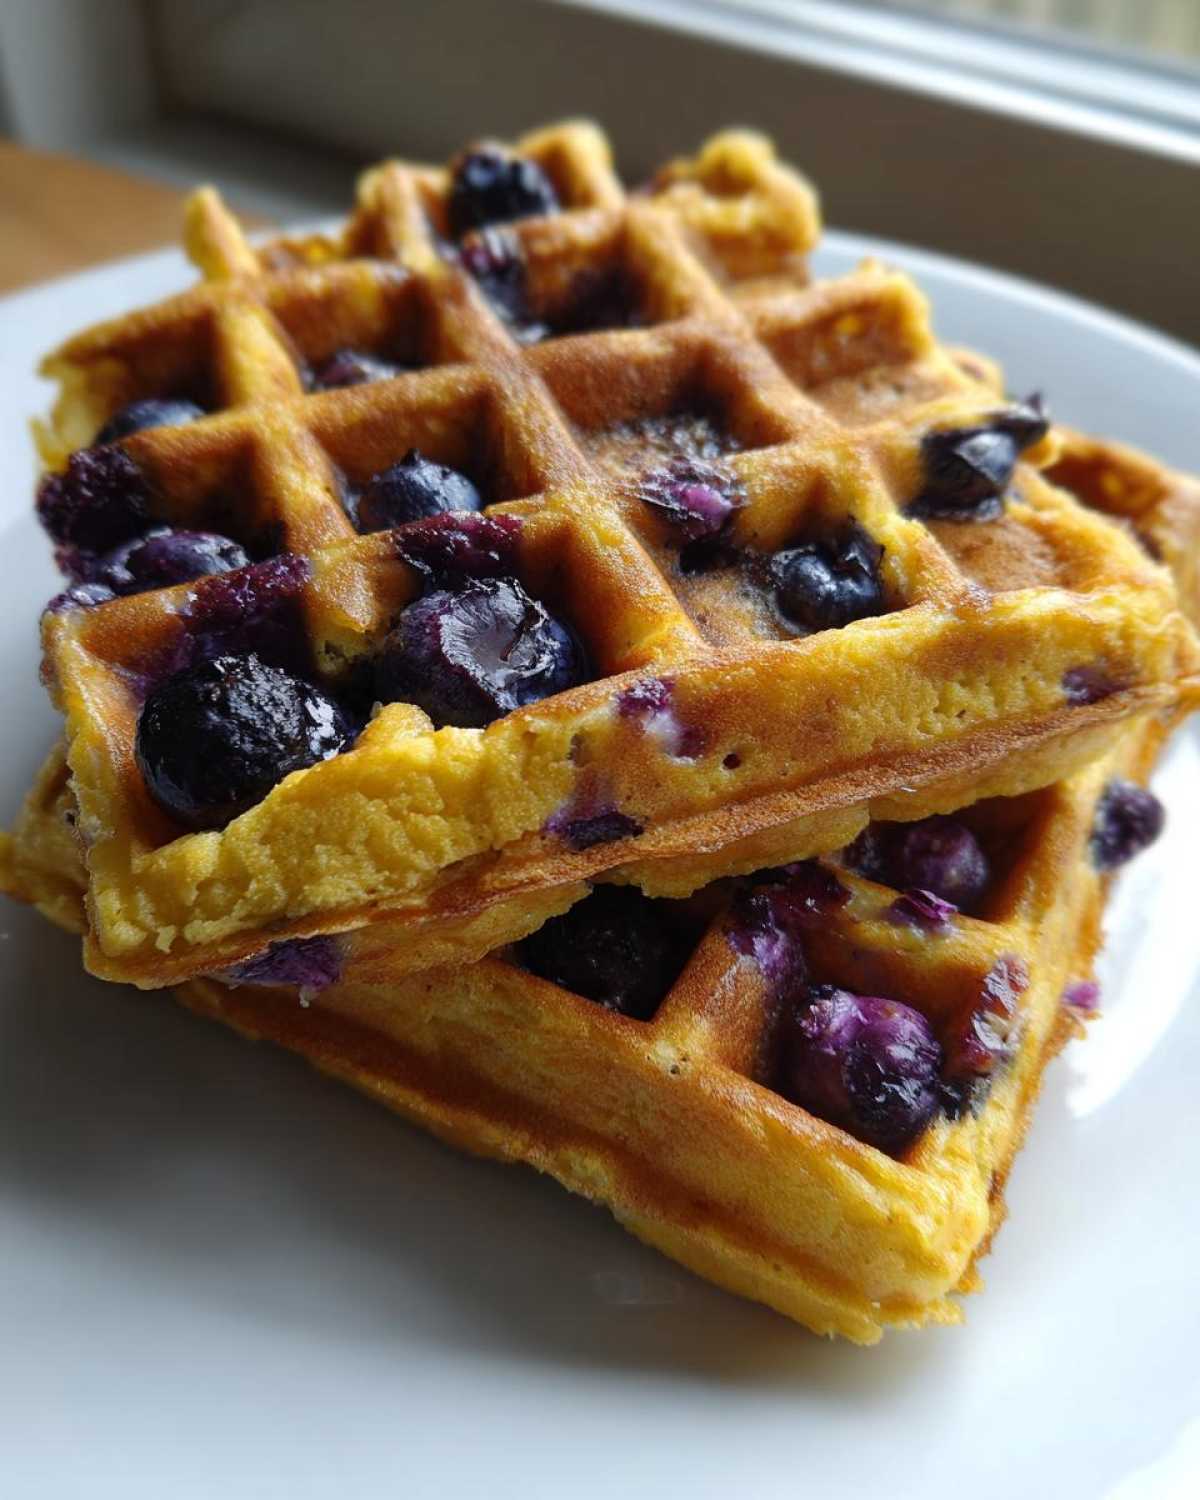
Another method I use to guarantee crispness? I sometimes add a tiny bit more melted fat right before pouring the last ladleful onto the iron. Too much means a floppy waffle, but that extra little bit of fat around the edges helps it fry up beautifully golden brown when it hits the hot iron. If you’re looking for another great make-ahead breakfast idea that saves time, you have to check out my guide on overnight oats!
Making Gluten-Free Blueberry Waffles for Kids and Families
Getting kids excited about a new breakfast when you’re making waffles for kids gluten free can sometimes be a challenge, but trust me, the sight of these golden, blue-dotted beauties usually wins them over immediately. The beauty of this recipe is that once they are off the iron, they are totally customizable!
For the little ones, skip the fancy toppings and go for something simple they love. A light drizzle of maple syrup, a dollop of plain yogurt, or just a dusting of powdered sugar—that’s usually the winner. Because these waffles hold their shape so well, they are perfect for little hands to grab and dip.
Also, if you’re trying to sneak in a little extra something, you can mix a spoonful of chia seeds into the wet ingredients! It disappears right into the texture, and honestly, they never notice. If you need a fun drink pairing for your brunch, you should absolutely try my recipe for quick homemade chocolate milk; it’s a guaranteed hit!
Serving Suggestions for Your Gluten-Free Blueberry Waffles
Now we get to the fun part—making these waffles a full-blown occasion! While these gluten free blueberry waffles recipe are delicious all by themselves, turning them into a spread suitable for healthy gluten free brunch ideas is so easy. I usually start by whipping up a light vanilla yogurt or heavy cream to serve on top instead of just plain butter.
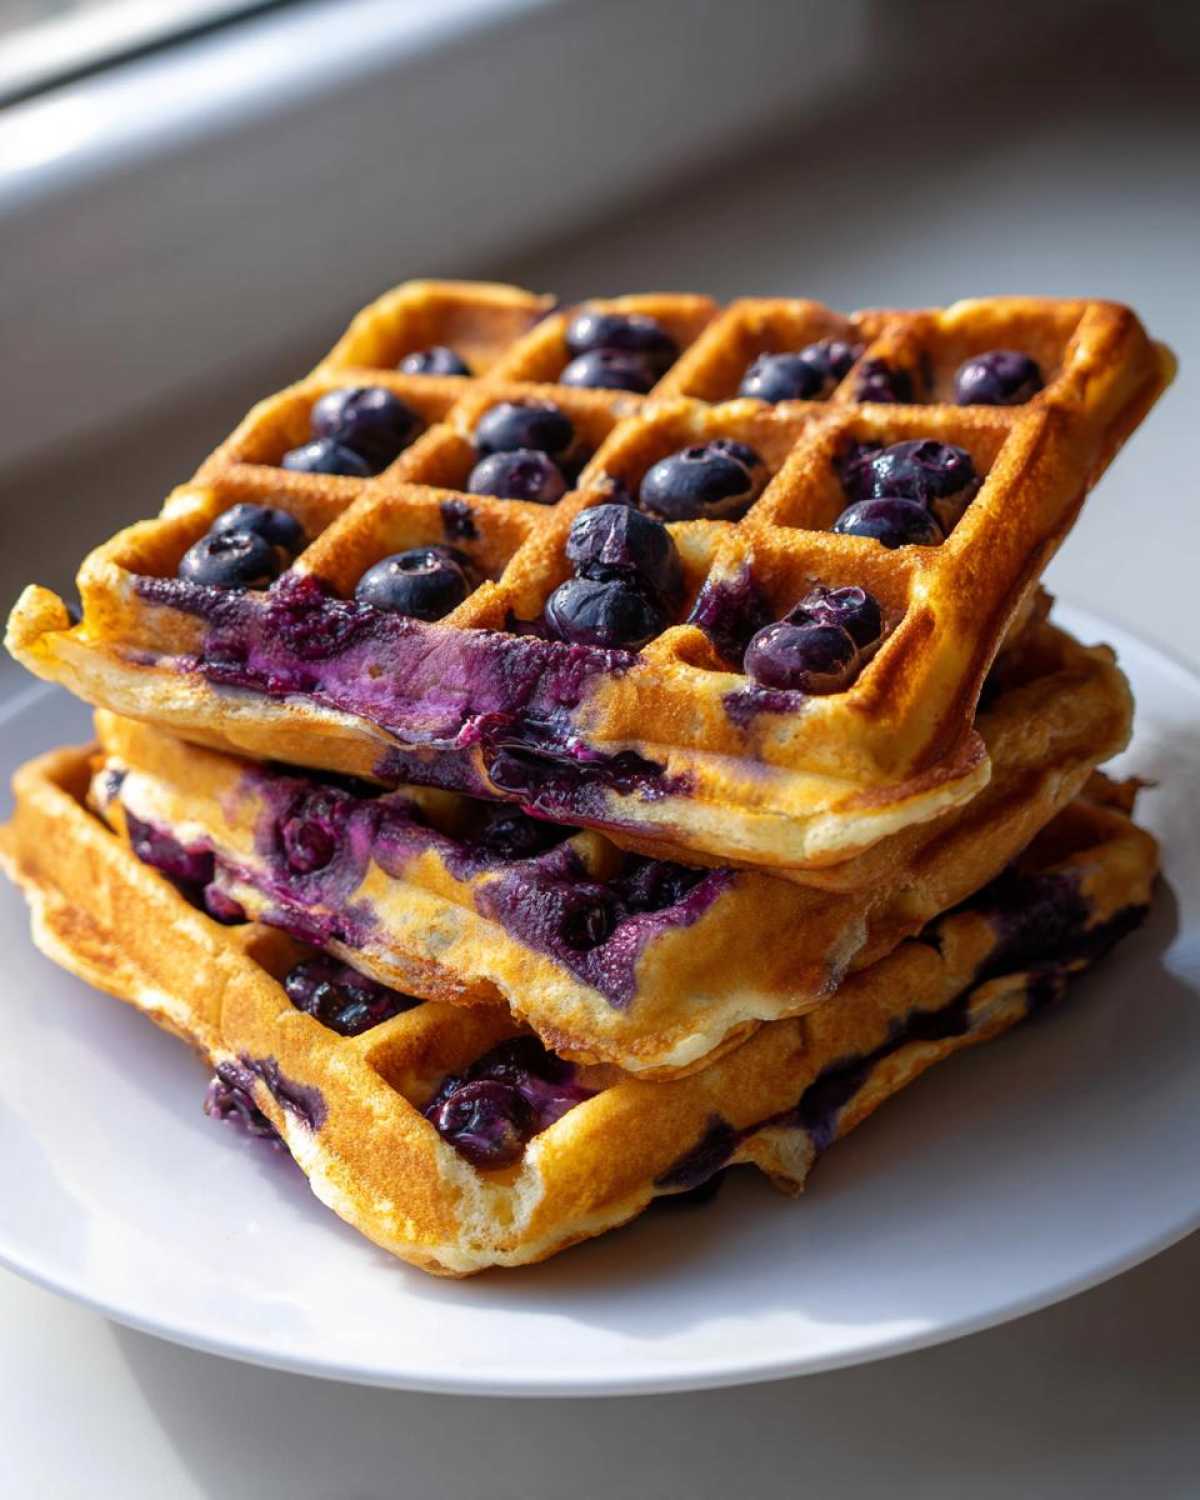
If you’re going savory on the side, don’t even think about skipping extra crispy bacon! My recipe for maple bacon cornbread is the perfect sweet and salty sidekick to these waffles.
Storage and Reheating Instructions for Leftover Gluten-Free Blueberry Waffles
Yes, there are actually leftovers! Sometimes I make a double batch just for this reason. Storing these beauties correctly is key because we worked so hard to get that crispy exterior, and the microwave is their sworn enemy! We save them for a quick simple gluten free morning meal later in the week.
If you have waffles remaining that you want to eat in the next day or two, the best way to store them is actually to skip refrigeration altogether if possible. Once the waffles have cooled completely to room temperature—and I mean totally cool, otherwise you encourage steam and mold—lay them in a single layer inside a zip-top freezer bag. I usually slide a piece of parchment paper between each waffle just to be extra safe, though they usually don’t stick badly.
For long-term storage, freezing is fantastic. These waffles freeze beautifully and keep their texture much better than traditional wheat waffles do. They should be good in the freezer for up to three months. Just make sure that bag is sealed tight to prevent freezer burn!
Now, how do we bring them back to life? You have two golden options, and neither one involves zapping them in the microwave, which turns them instantly rubbery. If you need one waffle fast, your toaster slot works wonders! Just watch them closely, as they might cook a little faster than bread.
For real crispness, the oven or toaster oven is the champion. Preheat your oven to about 350°F. Set the frozen or refrigerated waffles directly onto a wire rack placed over a baking sheet. Pop them in for about 5 to 8 minutes. This method heats them evenly all the way through and dries out that surface just enough to bring back that satisfying crunch we achieved the first time around. Enjoy your second breakfast!
Frequently Asked Questions About Gluten-Free Blueberry Waffles
Why are my gluten-free blueberry waffles coming out dense or heavy?
Oh, I’ve been there! Density is the number one enemy when you’re baking without gluten. Usually, this happens for two main reasons. First, you might have forgotten the xanthan gum, which is the glue that replaces the elasticity of wheat. Second, and this is super common, you probably overmixed the batter! When you mix GF batter too vigorously, it gets gummy instead of setting up light. Remember our rule: mix until *just* combined, and leave those lumps alone!
How do I prevent the blueberries from sinking to the bottom of my waffles?
This is a classic banana bread problem that we see in waffles too! The key to successfully making blueberry waffles without gluten is coating those berries first. Before you fold the blueberries into the final batter, toss them gently in about one teaspoon of your dry flour blend. This light coating gives the berry weight something to cling to, preventing them from sinking during cooking. Don’t use too much flour, just enough to dust them lightly!
Can I make the batter ahead of time? I want a super quick morning!
You definitely can make the batter ahead, which leads into a really great tip for achieving the perfect gluten free breakfast! Since GF flours need time to hydrate, making the batter the night before and storing it sealed in the fridge is actually fantastic for texture. It lets the flours bloom. Just remember that the batter will thicken up a lot in the fridge. When you pull it out in the morning, stir in maybe two extra tablespoons of milk until it reaches that thick, pourable consistency again. You might not even need to rest it then!
What’s the best way to reheat leftovers to keep them crispy?
If you store them in the fridge or freezer, you absolutely must reheat them in a dry environment. The oven or toaster oven is your best friend here! Set your oven to 350°F, place the waffles on a wire rack over a baking sheet, and heat them for about 5 to 7 minutes. This dries out any residual moisture and crisps up the exterior beautifully. If you’re in a huge rush but need texture, your toaster usually works in a pinch, but watch them carefully!
If you ever need a great savory side dish to go with your breakfast spread, you should look at my foolproof recipe for the best turkey gravy—it freezes wonderfully, too!
Estimated Nutritional Data for Gluten-Free Blueberry Waffles
I always like to give a quick rundown of what’s in these amazing waffles. Knowledge is power, right? Whether you are counting macros or just curious about what you’re feeding your family, here is a snapshot of the estimated nutrition per single waffle. Remember, since we are using a specific gluten-free flour blend, these numbers are really just a helpful guide—they look pretty good for such a decadent start to the day!
Please keep in mind that these are estimates. If you swap out the milk for unsweetened almond milk, or use a different brand of GF flour, these numbers will shift a little bit. This data is based on the ingredients listed above and assumes a yield of four large waffles.
- Serving Size: 1 waffle
- Calories: 350
- Fat: 16g (with 9g of that being saturated fat—that’s the melted butter working its magic!)
- Carbohydrates: 45g
- Fiber: 3g
- Sugar: 12g
- Protein: 10g
- Cholesterol: 95mg
See? Ten grams of protein is nothing to sneeze at for a morning breakfast! It helps keep us full until lunchtime. Now you can enjoy these gluten free blueberry waffles recipe beauties totally guilt-free!
PrintFluffy Gluten-Free Blueberry Waffles

A straightforward recipe for making light and crispy blueberry waffles using a gluten-free flour blend.
- Prep Time: 10 min
- Cook Time: 15 min
- Total Time: 25 min
- Yield: 4 large waffles
- Category: Breakfast
- Method: Waffle Iron
- Cuisine: American
- Diet: Gluten Free
Ingredients
- 1 3/4 cups gluten-free all-purpose flour blend (with xanthan gum)
- 2 tablespoons granulated sugar
- 1 tablespoon baking powder
- 1/2 teaspoon salt
- 1 1/2 cups milk (dairy or non-dairy)
- 2 large eggs
- 1/2 cup unsalted butter, melted
- 1 teaspoon vanilla extract
- 1 cup fresh or frozen blueberries
Instructions
- Preheat your waffle iron according to the manufacturer’s directions.
- In a large bowl, whisk together the gluten-free flour blend, sugar, baking powder, and salt.
- In a separate medium bowl, whisk the milk, eggs, melted butter, and vanilla extract until combined.
- Pour the wet ingredients into the dry ingredients. Mix gently until just combined. Do not overmix; a few lumps are acceptable.
- Gently fold in the blueberries.
- Pour the batter onto the preheated waffle iron, using the amount recommended for your specific iron.
- Cook until golden brown and crisp, usually 4 to 6 minutes, depending on your iron.
- Remove the waffles carefully and serve immediately or keep warm in a low oven while you cook the remaining batter.
Notes
- If your gluten-free flour blend does not contain xanthan gum, add 1 teaspoon to the dry ingredients.
- For crispier waffles, let the batter rest for 5 minutes before cooking.
- If using frozen blueberries, do not thaw them first; fold them directly into the batter.
Nutrition
- Serving Size: 1 waffle
- Calories: 350
- Sugar: 12
- Sodium: 300
- Fat: 16
- Saturated Fat: 9
- Unsaturated Fat: 7
- Trans Fat: 0
- Carbohydrates: 45
- Fiber: 3
- Protein: 10
- Cholesterol: 95